Assessments
Manage Assessments
To manage assessments, users should navigate to the Assessments tab from the My Items Menu located on the left sidebar.
- PID
- AARC
Creating a new Assessment
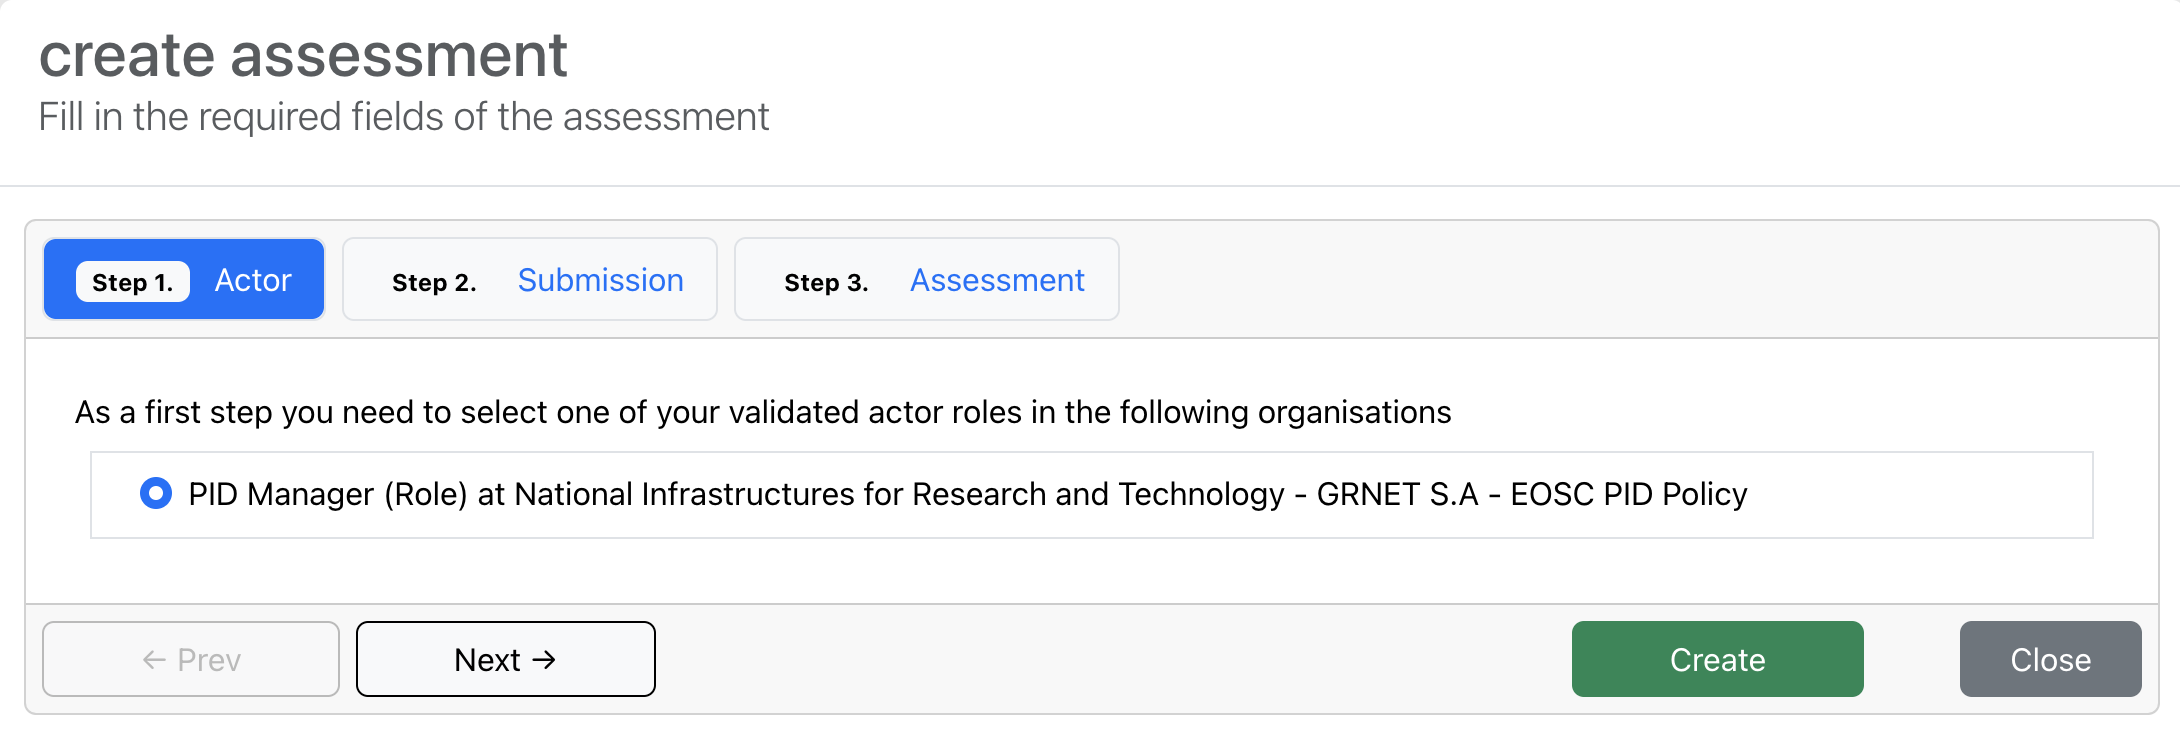
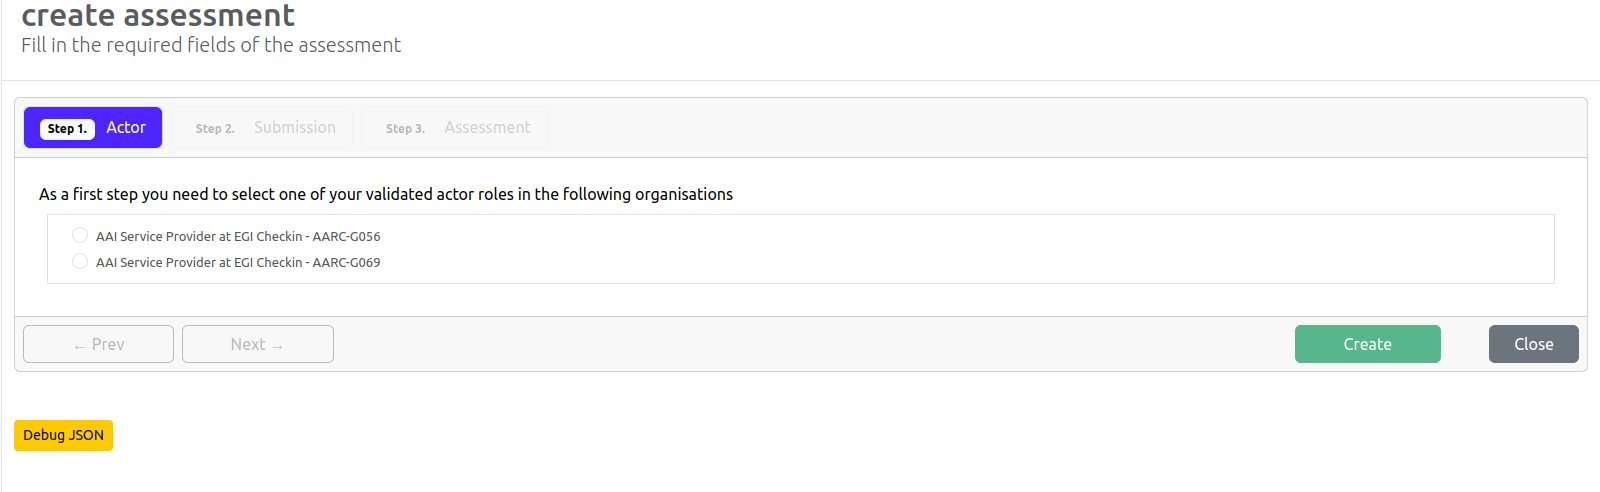
To begin, the user should click the Create New button. In the first step, the user will choose one of the validated actors and organizations that he is associated with. Once he has selected his preferable role and organization, the user should click Next.
- PID
- AARC
Step 2
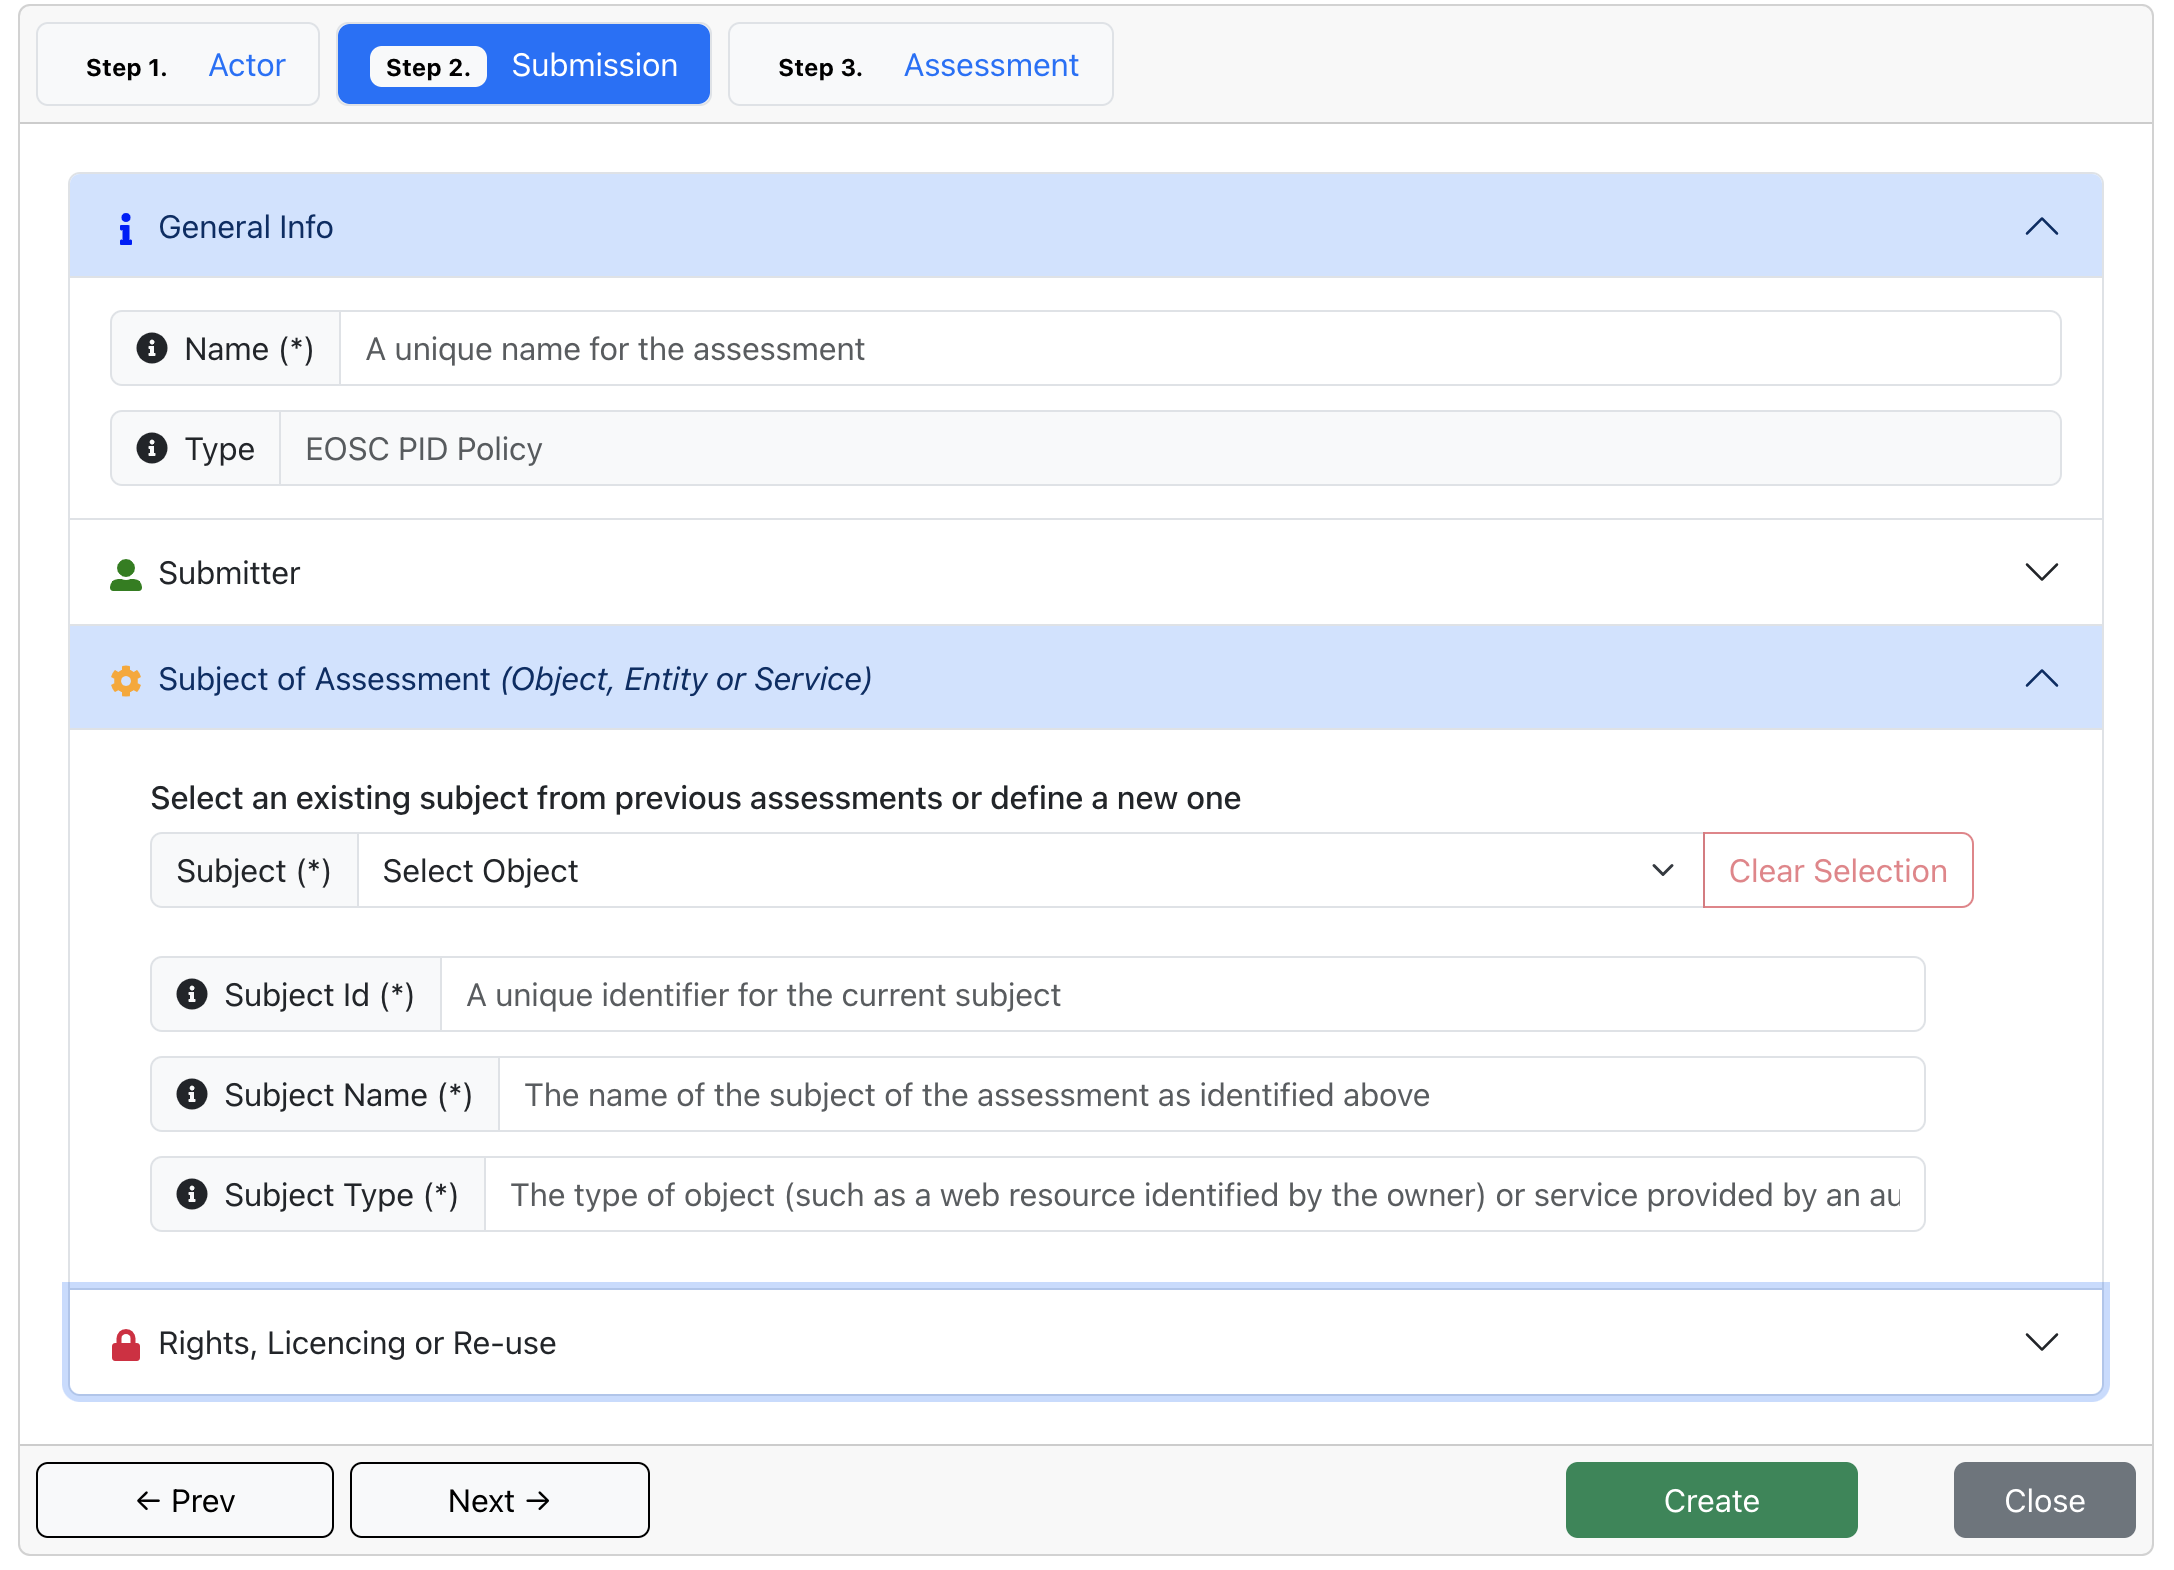
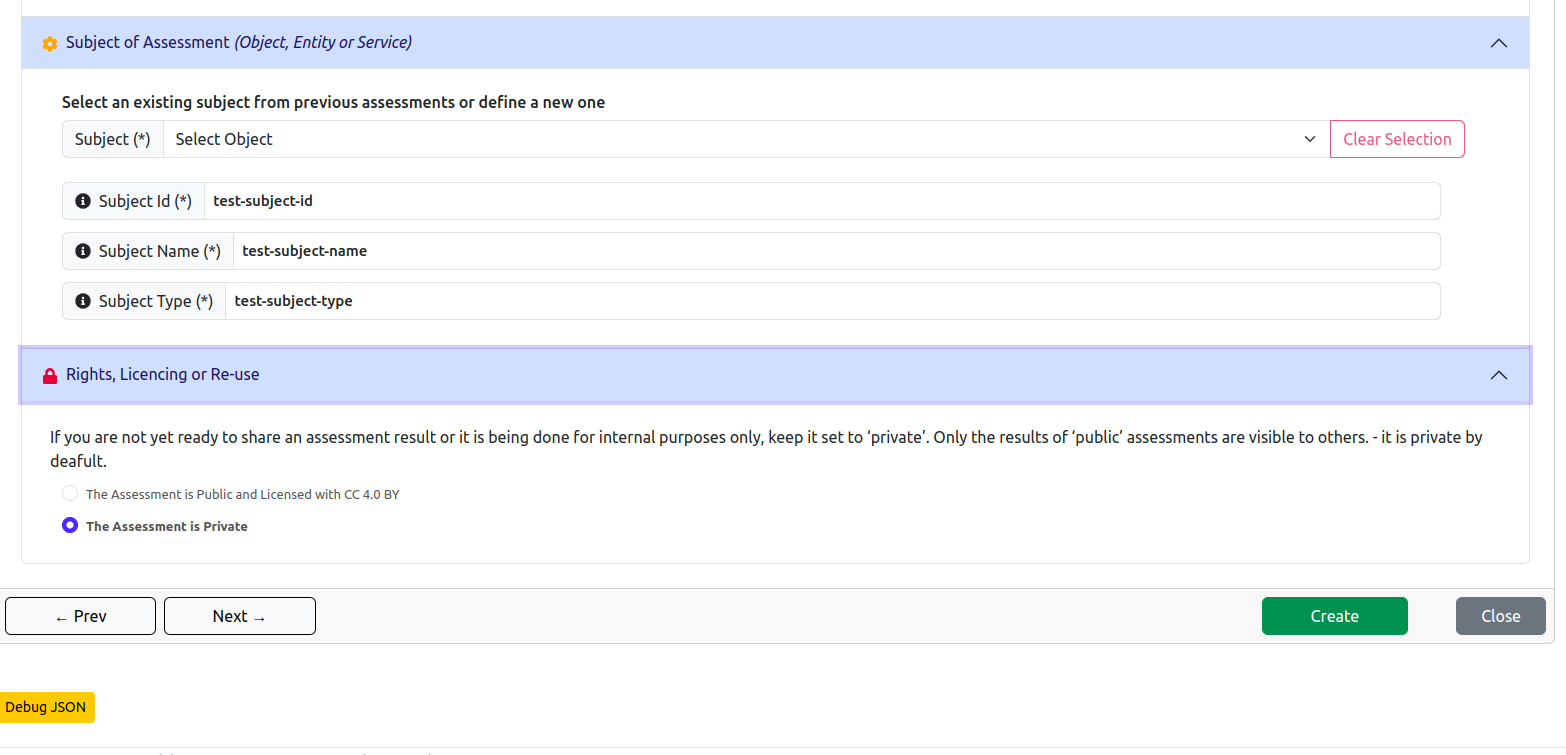
In the second step, a form will appear where the user can fill in the necessary details for the assessment, including the name and subject.
The main information the user should provide is the following:
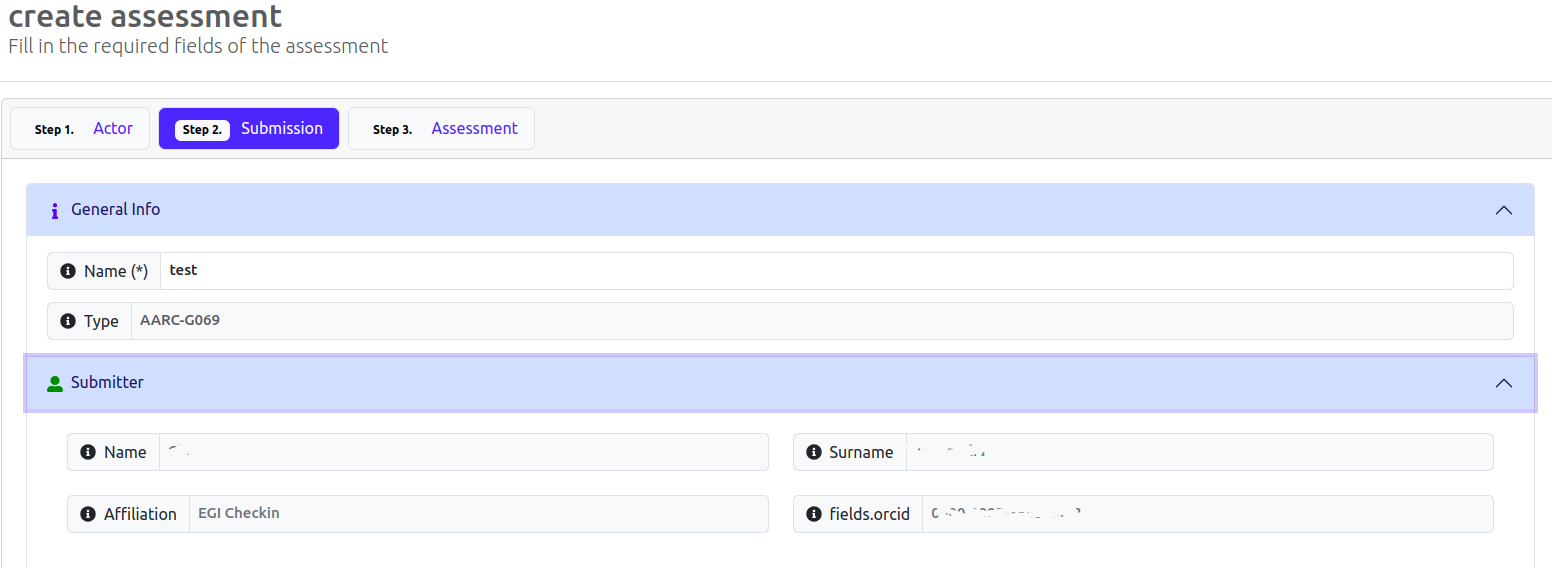
- General information, such as the name of the Assessment and it's type (right now type is pre-filled based on the selected assessment type).
- Submitter information: This is pre-filled information, extracted by the validation request that supports the assessment.
- Subject information, such as the Subject ID , Subject Name and Subject Type. User can fill these fields on the fly or select from a list of already defined subjects. Subject ID is A unique identifier for the current subject - this can be a URL, a string representing the service or organisation being assessed, or the PID of a resource owned by the user. Subject Name is the name of the subject of the assessment as identified above. Subject Type is the type of object (such as a web resource identified by the owner) or service provided by an authority, provider, or manager, for which the assessment will be completed.
- Rights, licence and Re-Use information , defining if the assessment will be a private or a public one. If the user is not yet ready to share an assessment result or it is being done for internal purposes only, he can keep it set to ‘private’. Only the results of ‘public’ assessments are visible to others.
Once he has filled in these fields, the user should click Next.
- PID
- AARC
Step 3
- PID
- AARC
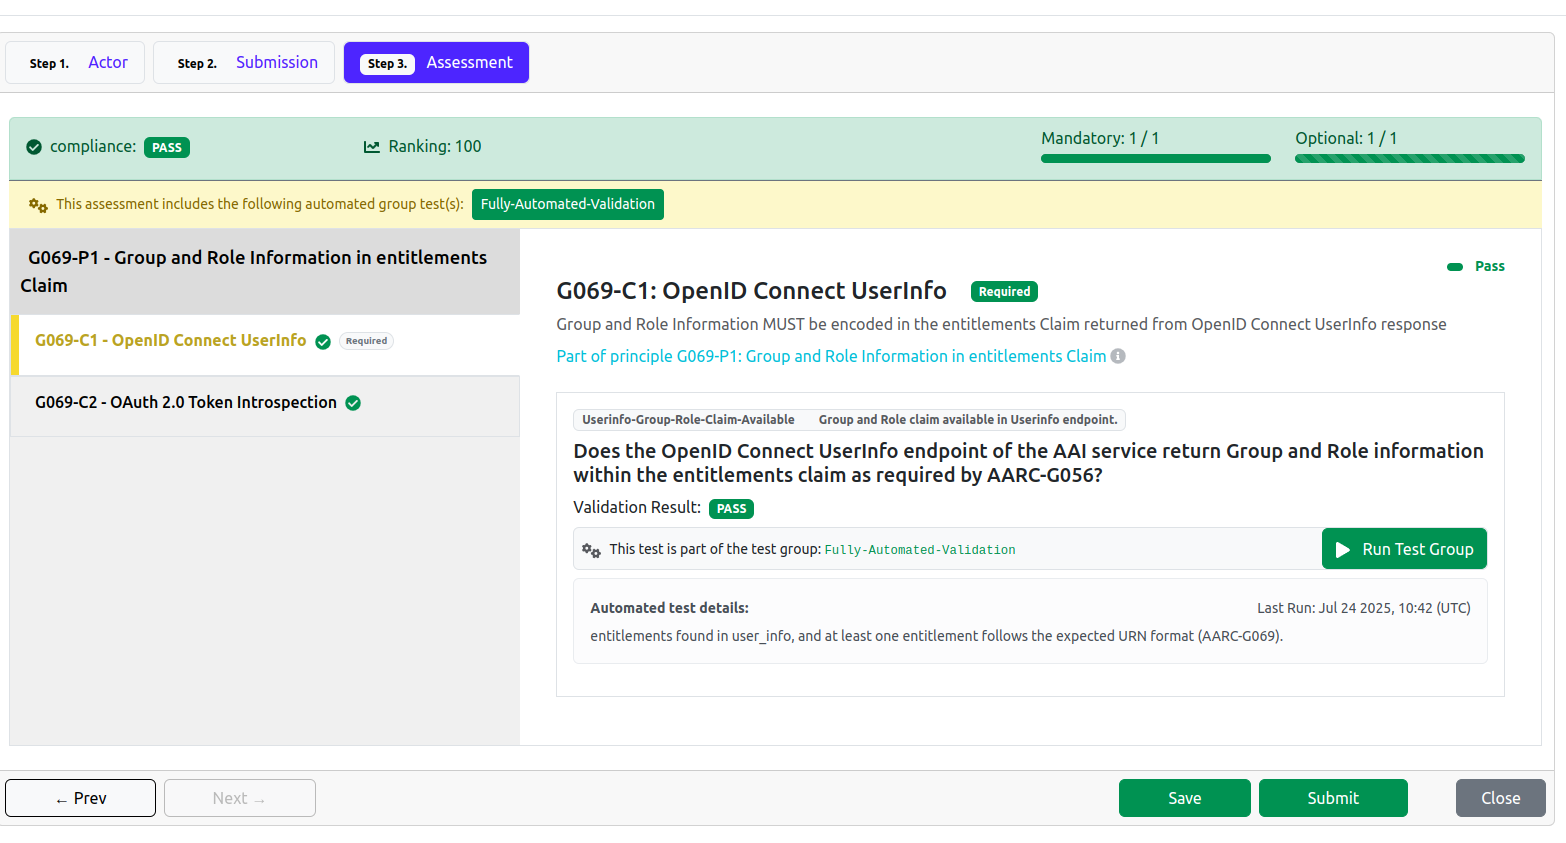
In the final step, the principles, criteria, and tests associated with them will be displayed. Once the user has filled in the tests with the necessary information, he can click the Create button to create the assessment. Once created, the assessment will be added to his list of assessments, and he can proceed to manage it through editing, publishing, or sharing.
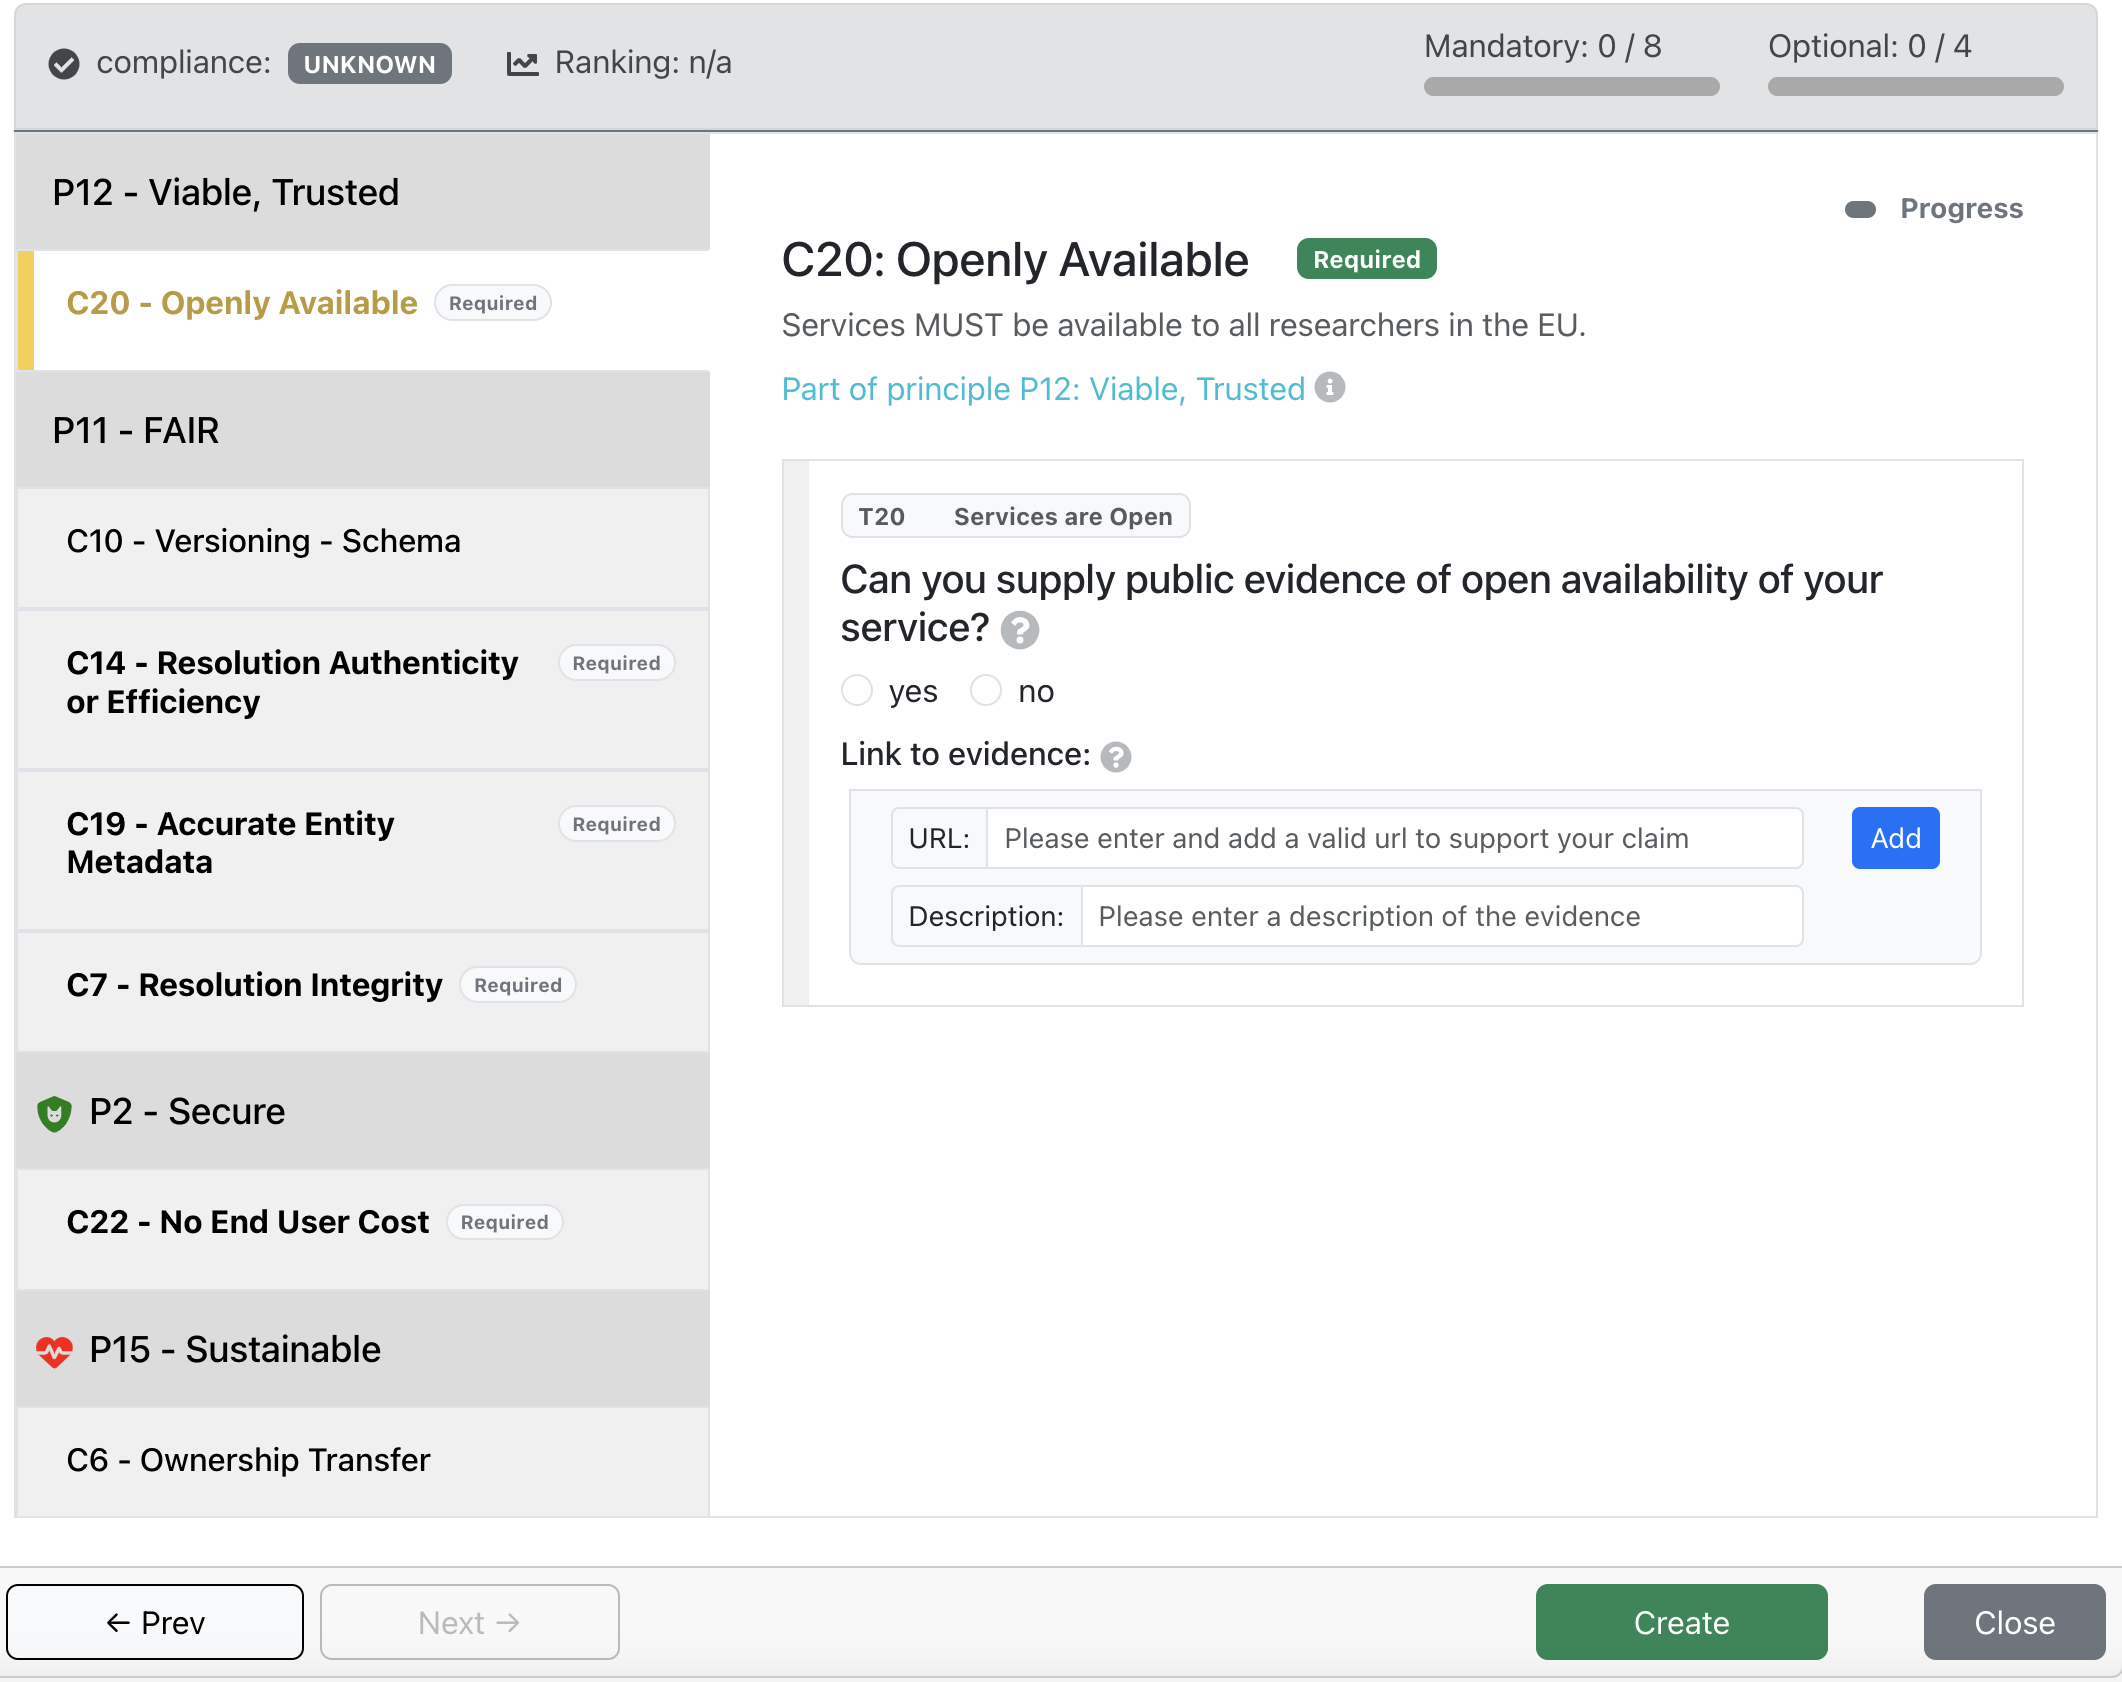
If the inserted test value complies with the benchmark, the criterio is considered successful, else it fails. Also the user can add evidences to prove their declaration of test values. Test values are accumulated and decide the success of the criterio.
In the final step, the principles, criteria, and tests associated with them will be displayed.
The tests can be filled through two ways based on there types:
Manual Tests : The user fills the test manually with the necessary information. If the inserted test value complies with the benchmark, the criterio is considered successful, else it fails. Also the user can add evidences to prove their declaration of test values. Test values are accumulated and decide the success of the criterio.
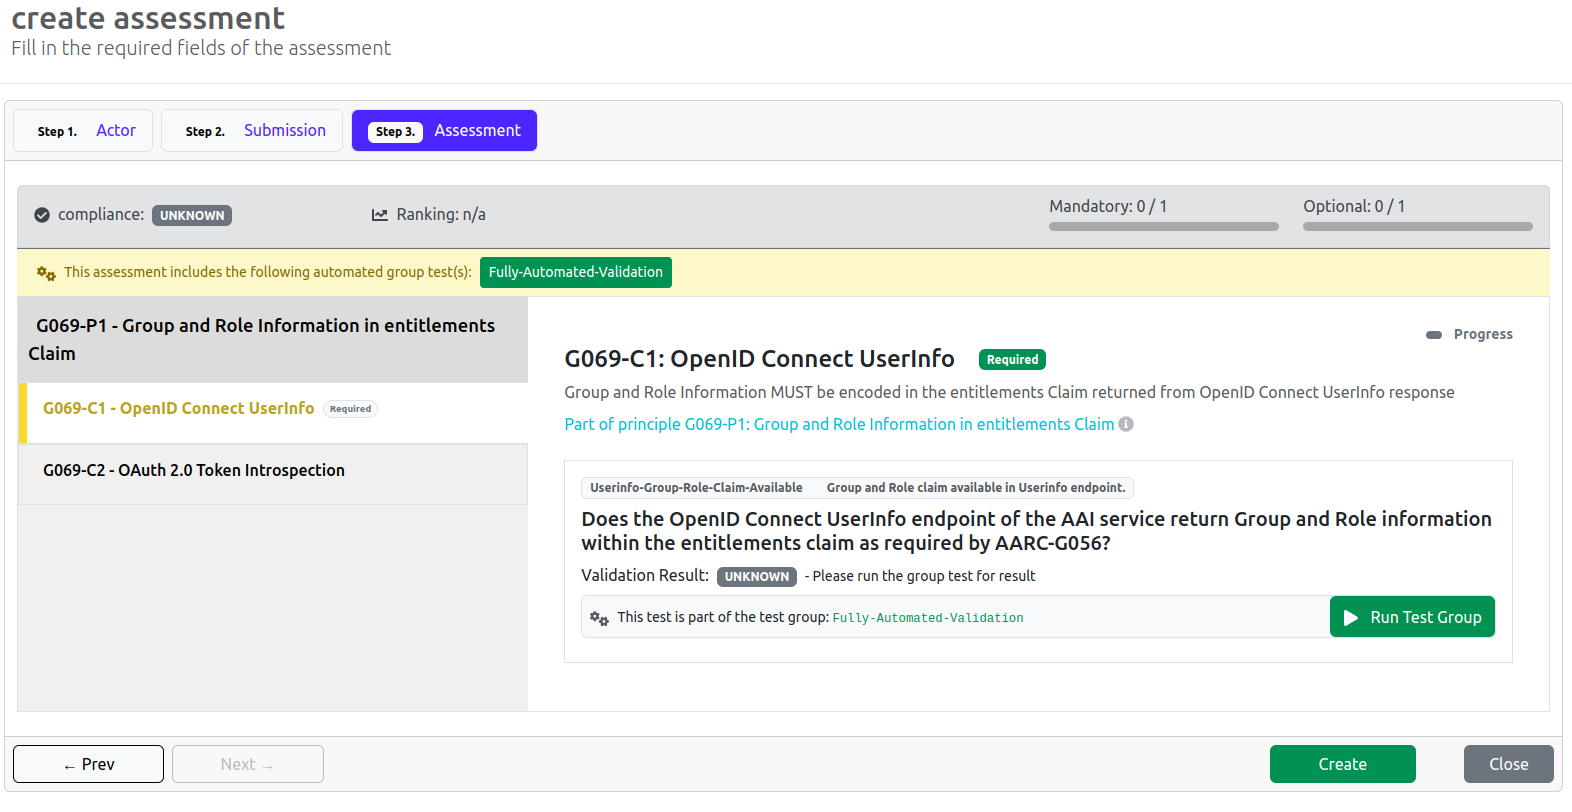
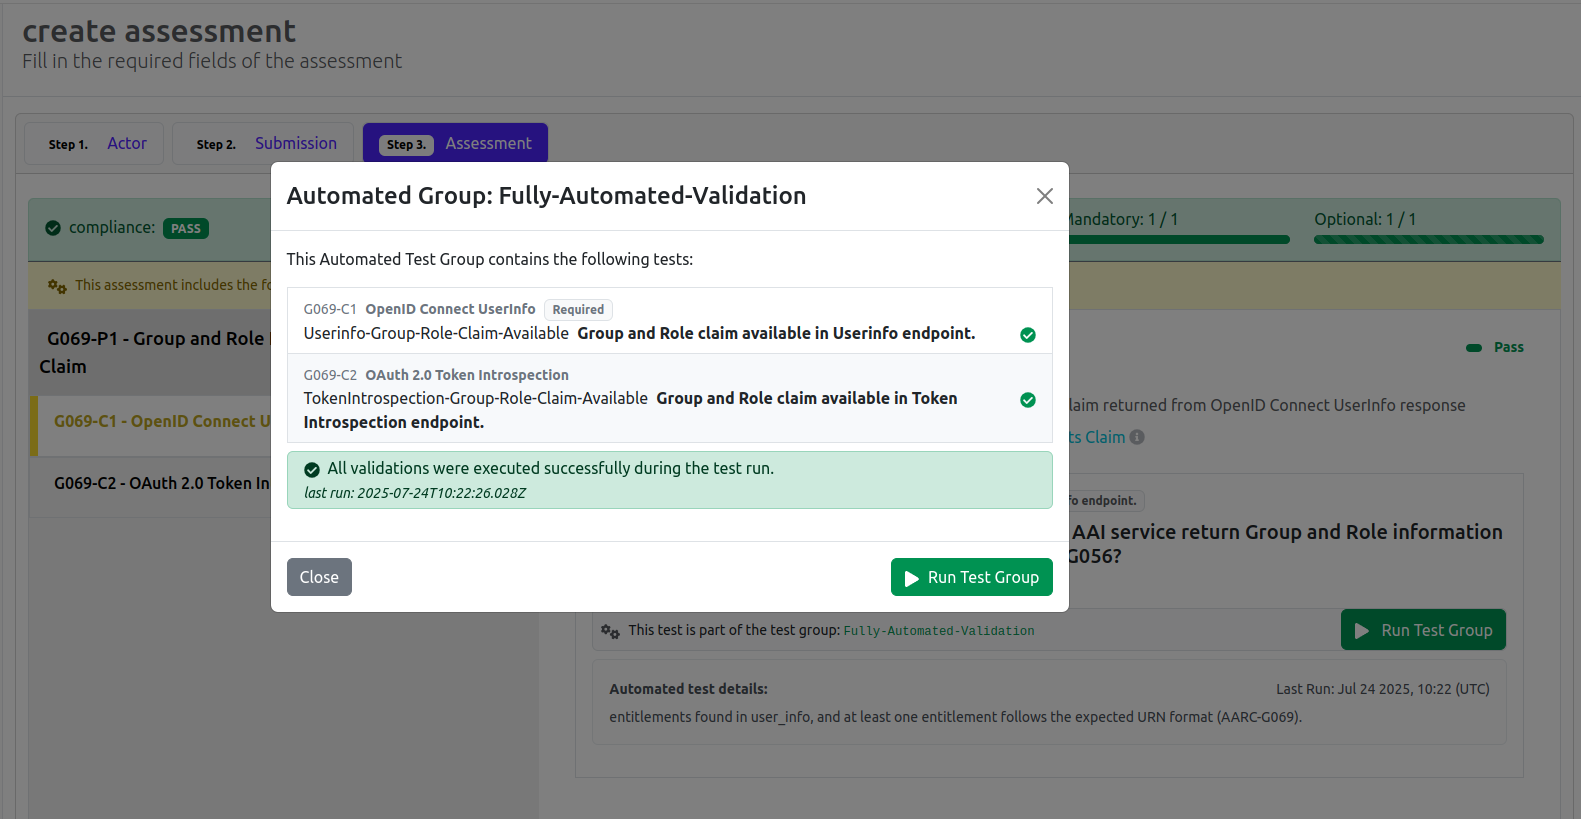
Automated Tests: Automated tests can run automatically. The user can click on the button Fully Automated Validation which opens a modal with all the automated tests that apart a group of automated test. When the user clicks Run Test Group button , all tests in the group can be validated automatically and be answered if they succeed or fail.
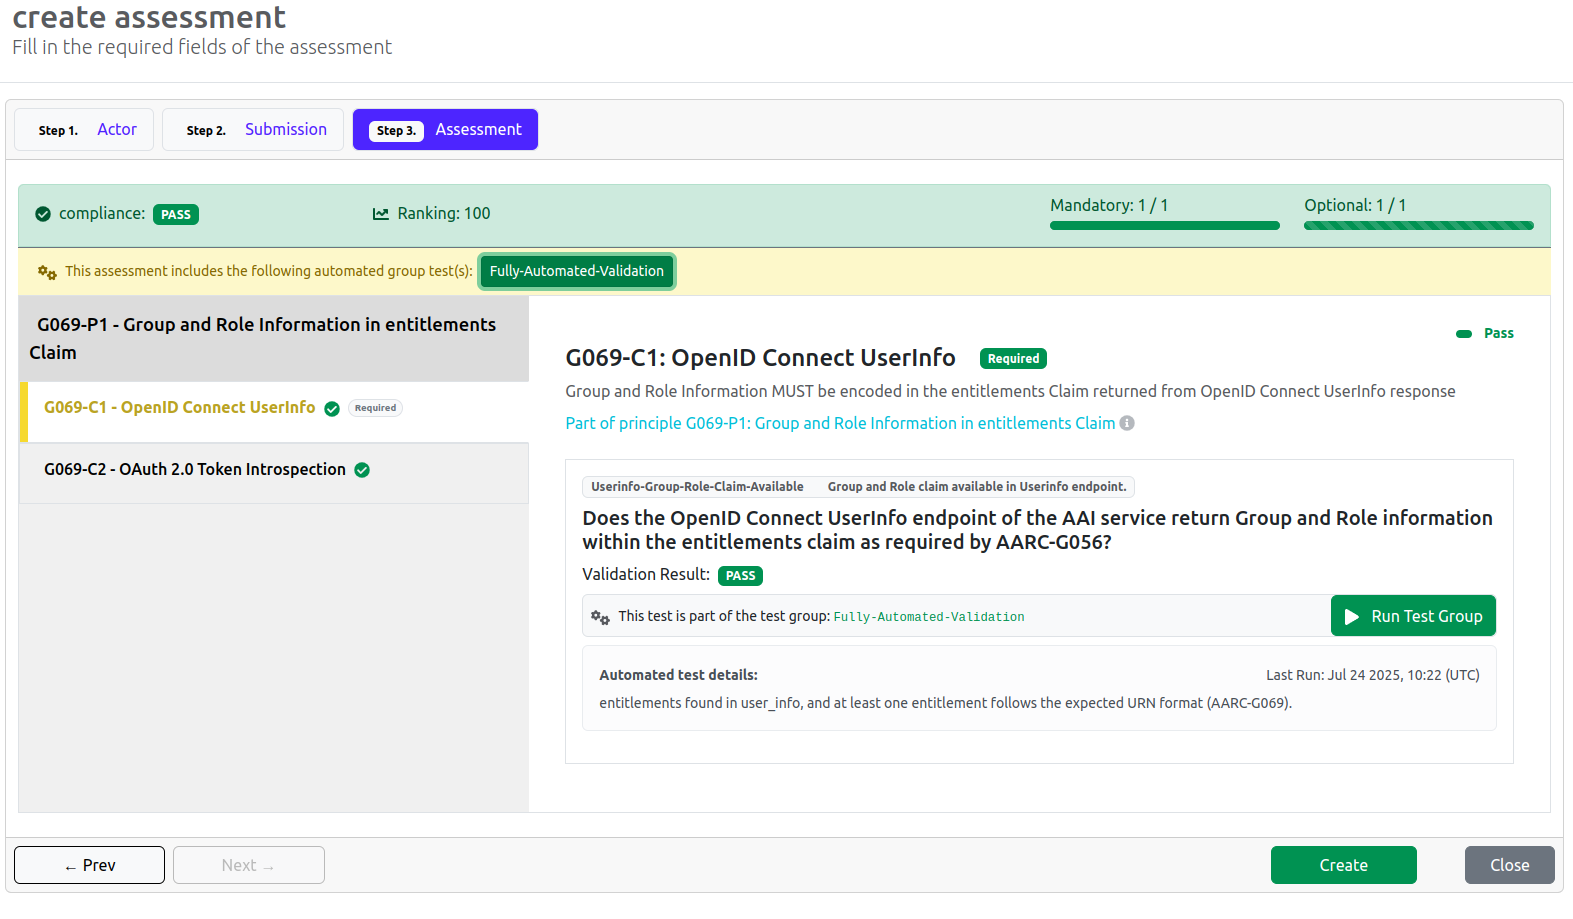
Once the assessment is filled the user, he can click the Create button to create the assessment. User is able to view per critero, how many tests pass or fail. Also the user can view how many mandatory criteria pass/fail, the ranking of the assessment and if the assessment complies. The user, can view the principle's description, by hovering over the (i) icon. Guidelines and best practices are provided to support each test, and help the user to decide actions in order to comply with the required standards. User, can view the guildelines that accompany the test,by clicking on the questionmark icon (?).
Finally, the user can navigate back and forth between steps by using the Next and Prev buttons. If the user needs to complete the assessment in stages, he can do a partial creation by clicking the Create button in any step to save your progress and return to it later.
Once created, the assessment will be added to his list of assessments, and he can proceed to manage it through editing, publishing, or sharing.
Importing an Assessment
The CAT Toolkit gives to the user the ability to import assessments as *.json format files that adhere to a specific schema. By clicking the Import button, a form will be displayed where the user can import the JSON file by choosing the preferred JSON file from his filesystem. Once the assessment is imported, the user can follow the instructions described in the Creating a new Assessment section to complete the process.
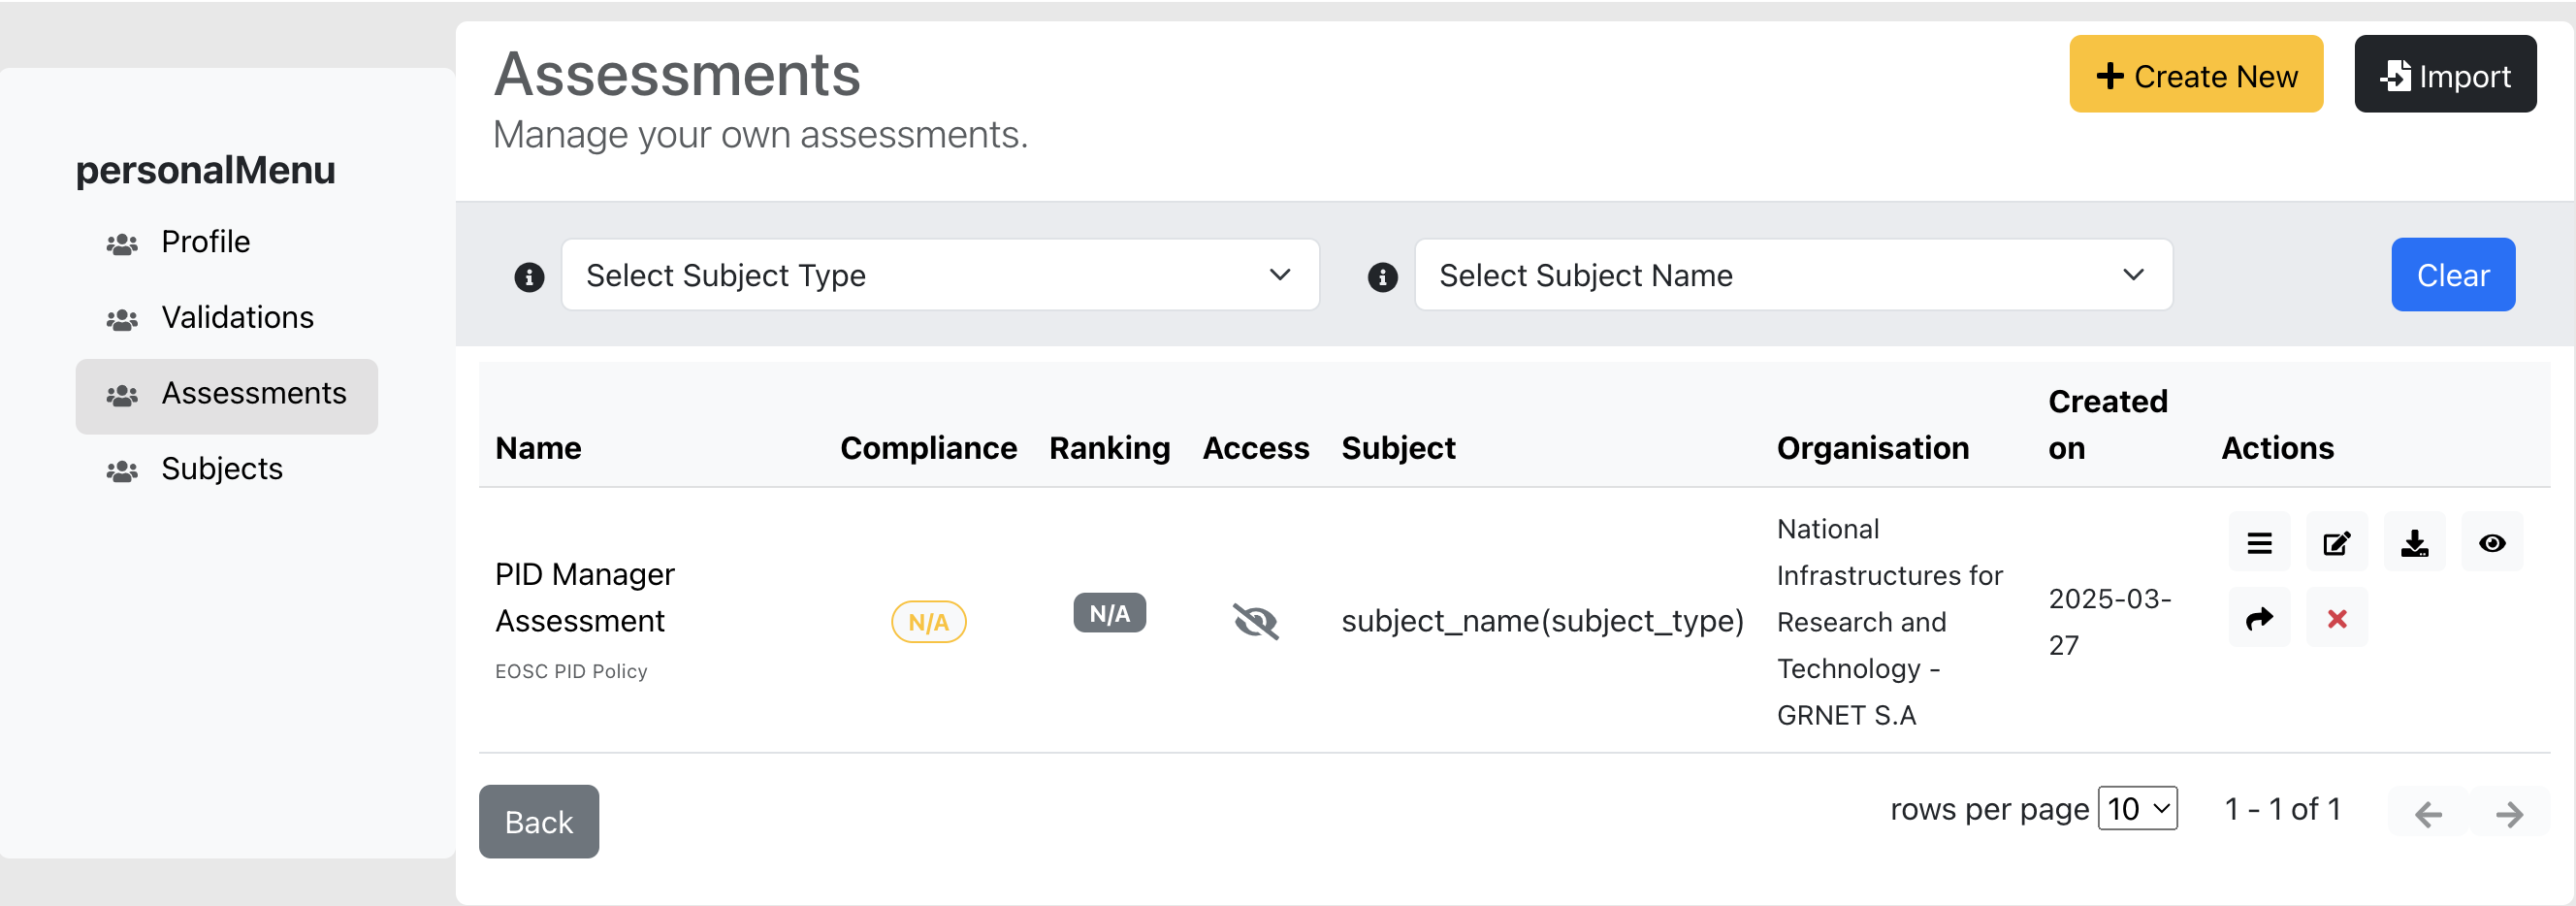
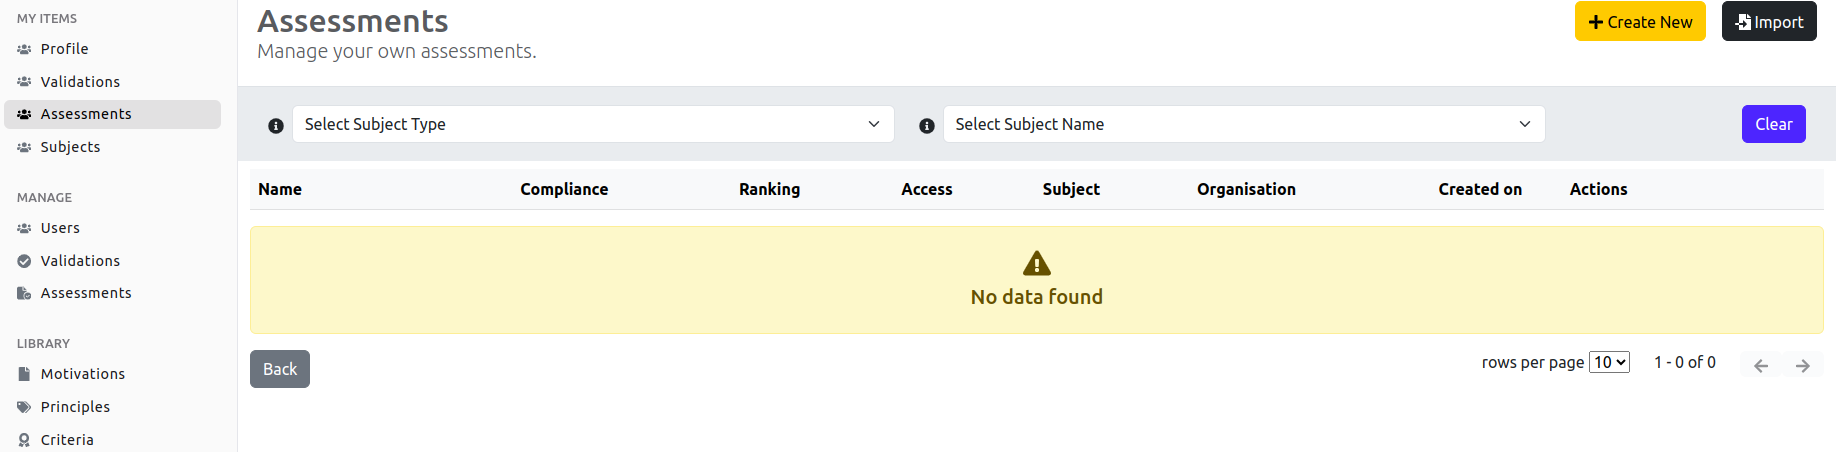
Viewing Assessments
Upon entering the Assessments tab, users can view a comprehensive list of assessments created with their account. The following information is displayed for each assessment:
- Name: The name of the assessment.
- Compliance: Indicates whether the assessment meets compliance requirements.
- Ranking: The rank assigned to the assessment based on predefined tests.
- Access: Specifies who can view the assessment (e.g., public, private).
- Subject: The subject of the assessment.
- Organisation: The organisation associated with the assessment.
- Created on:: The date and time when the assessment was created.
- Actions:: Options available for each assessment (such as view details, edit, or delete).
Users can search for assessments by subject type and subject name, allowing for a more targeted search.

Viewing Assessment Results
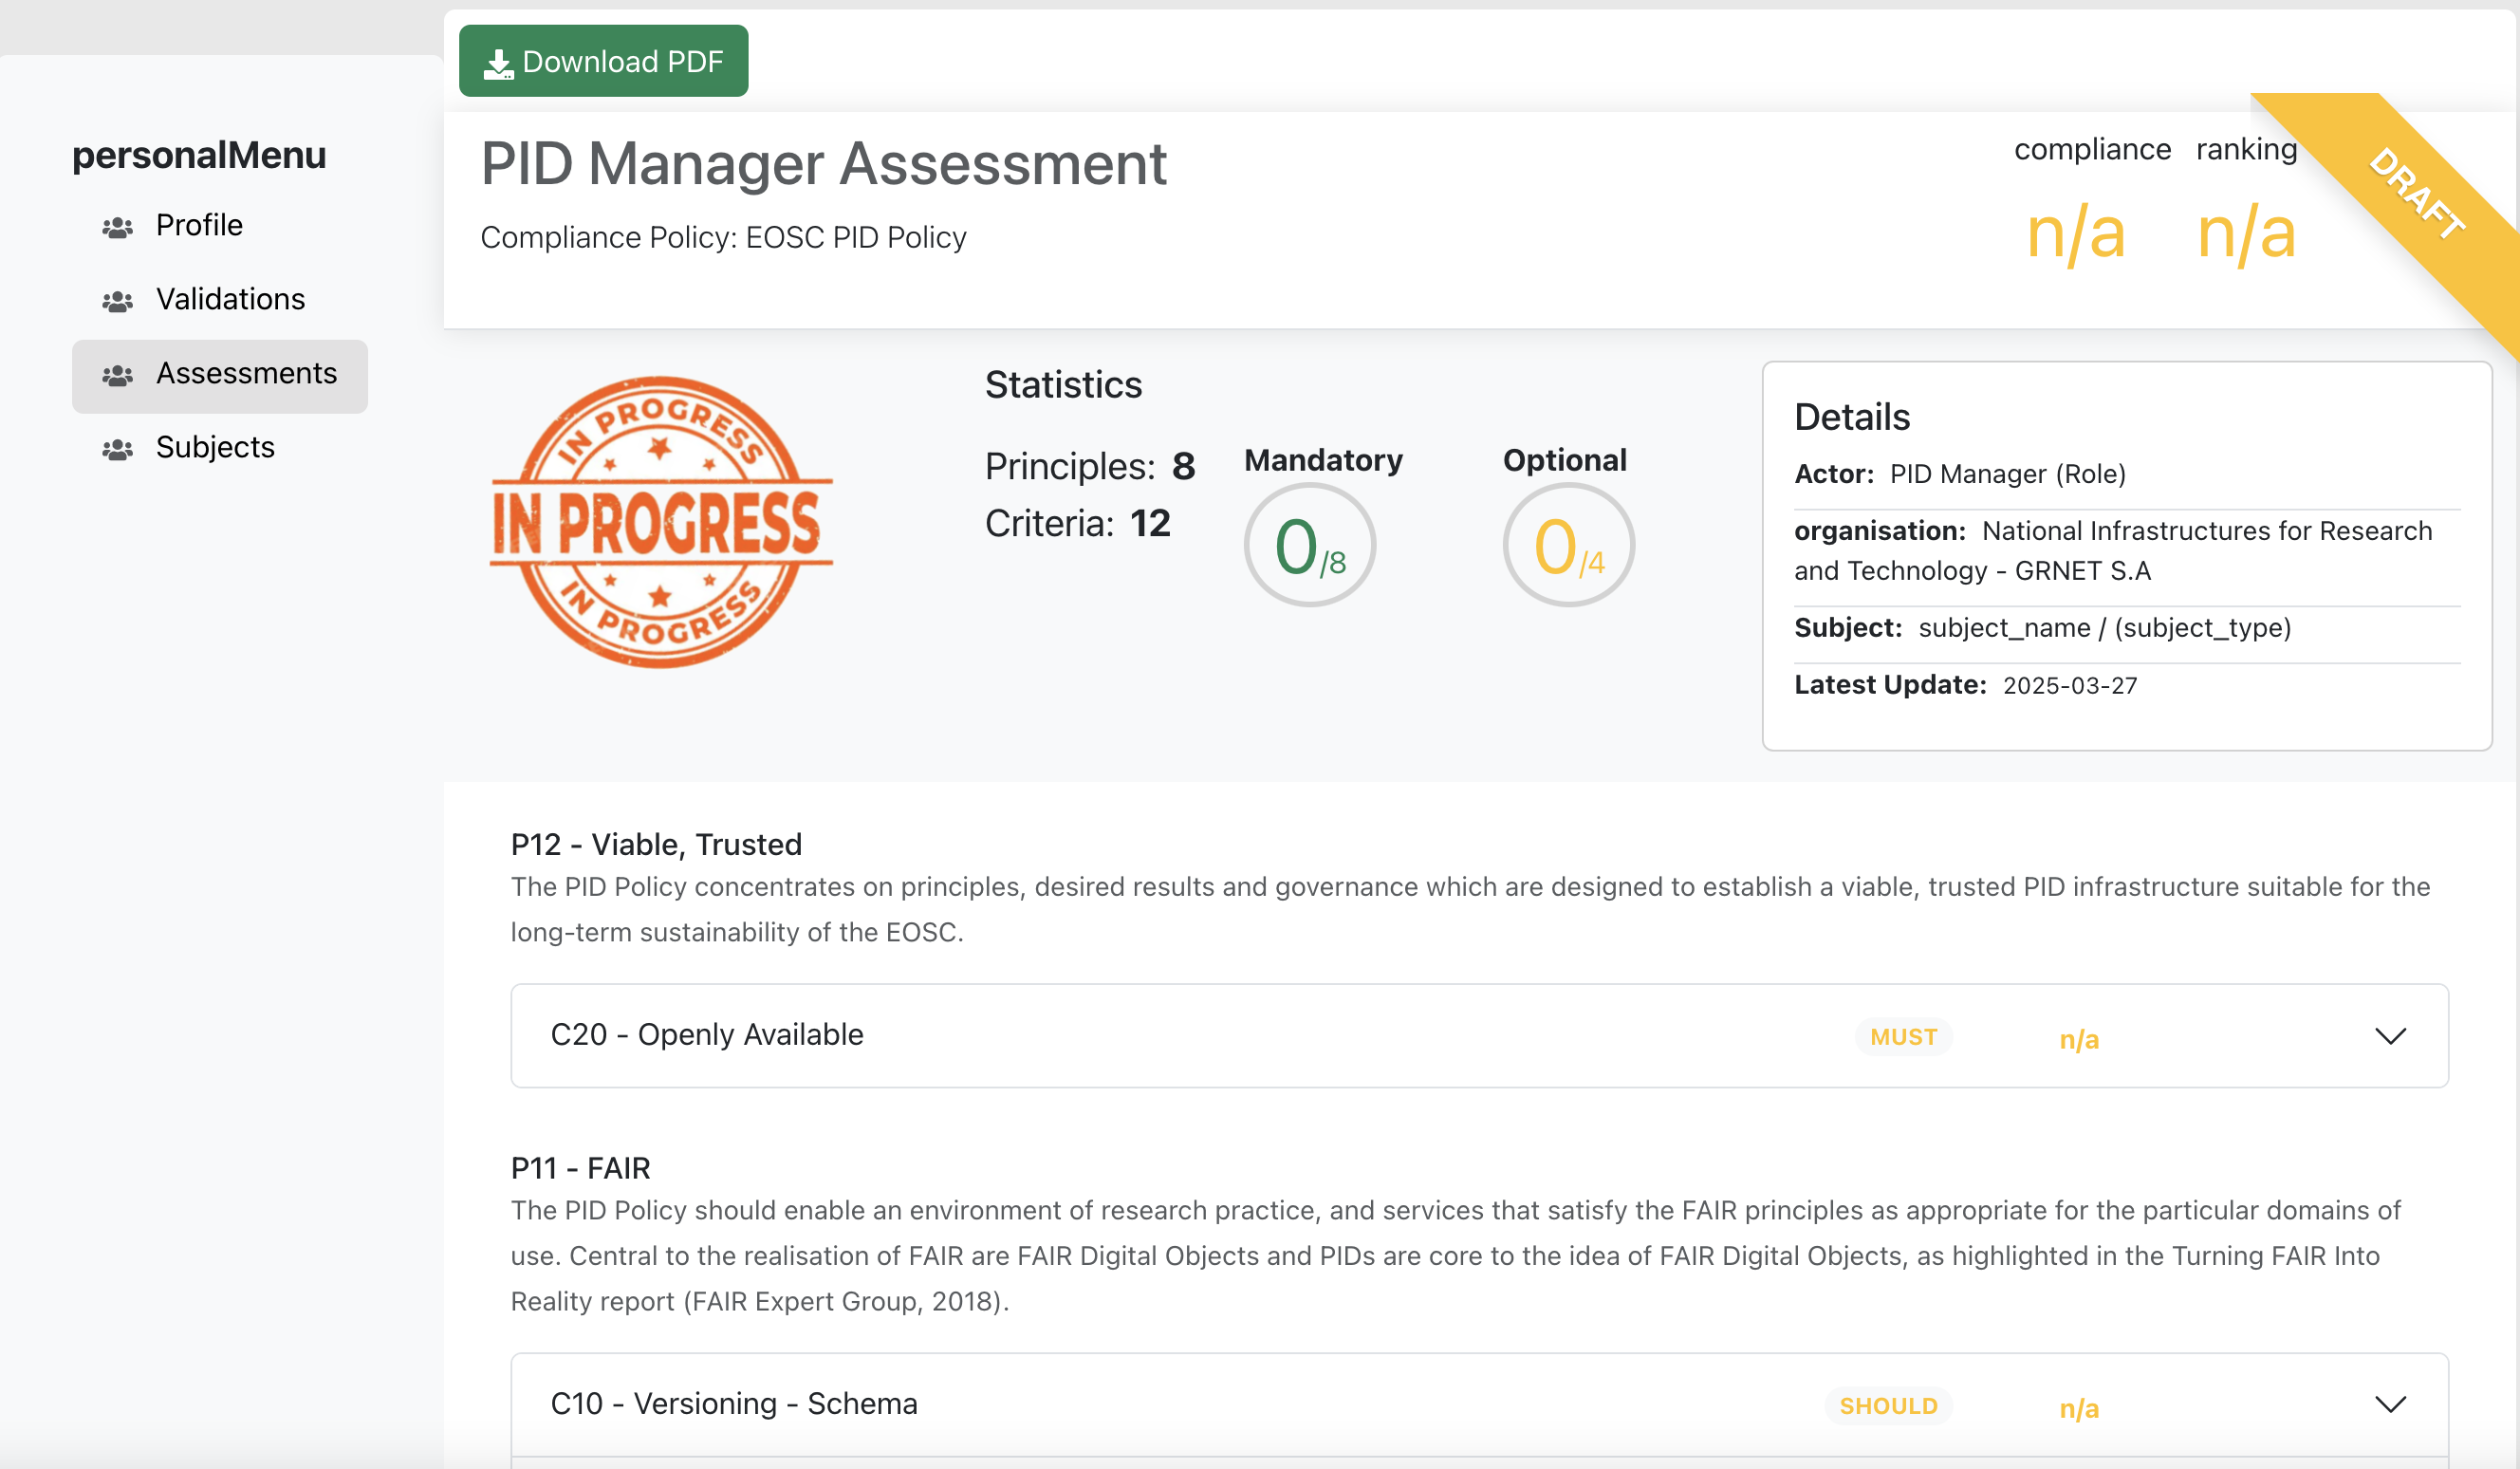
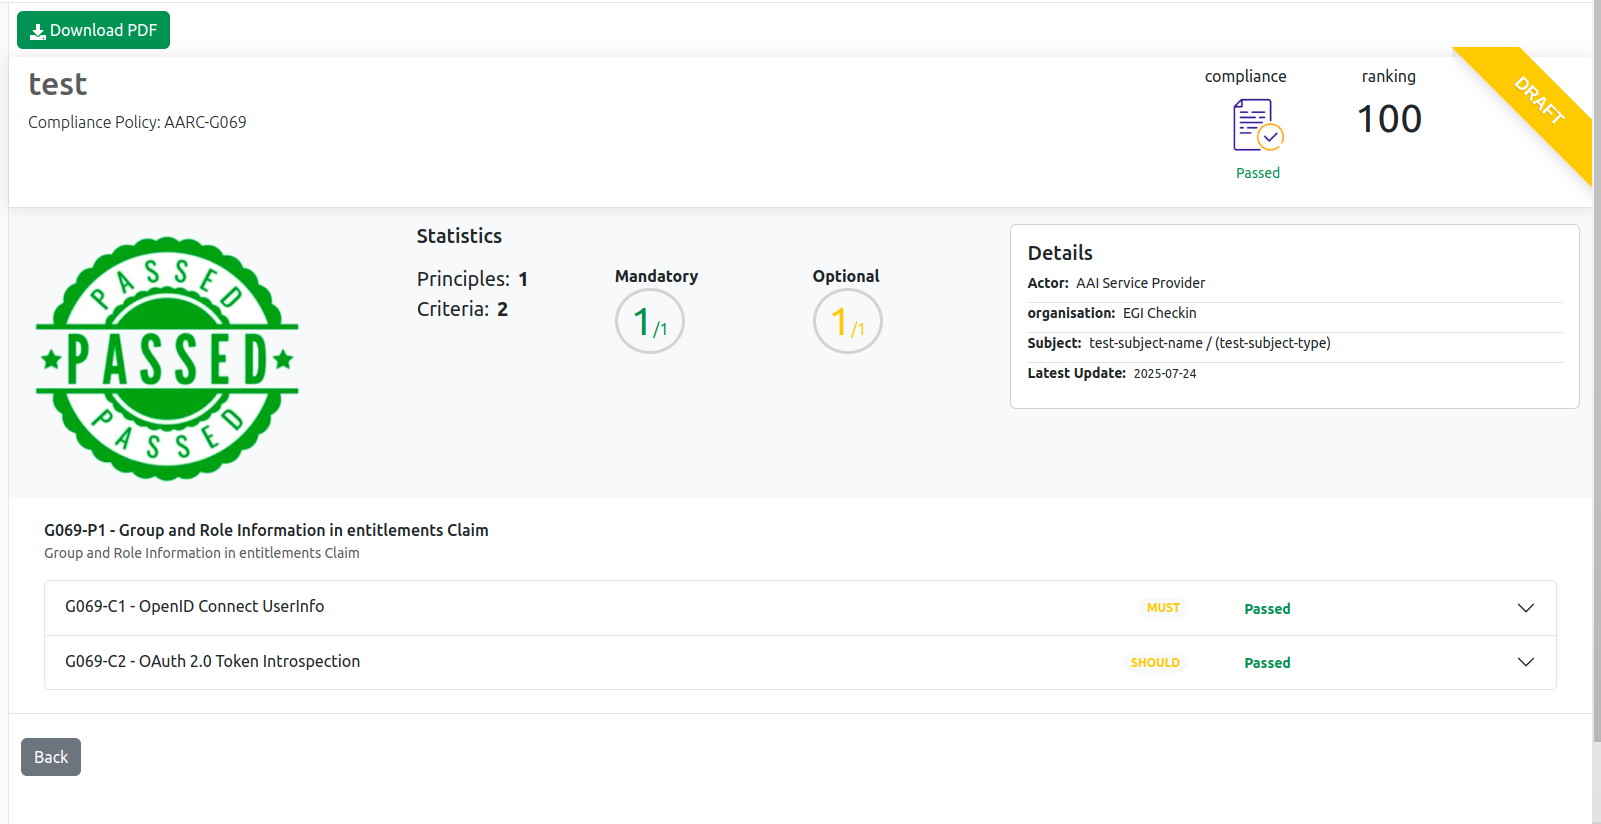
To view the assessment results, the user clicks on the View Assessment Results button ![]() . This action brings up a screen that displays detailed information about the assessment, including the overall score, performance metrics, and compliance details.
Additionally, there is an option available to download the results as a PDF file for further review.
. This action brings up a screen that displays detailed information about the assessment, including the overall score, performance metrics, and compliance details.
Additionally, there is an option available to download the results as a PDF file for further review.
- PID
- AARC
Editing an Assessment
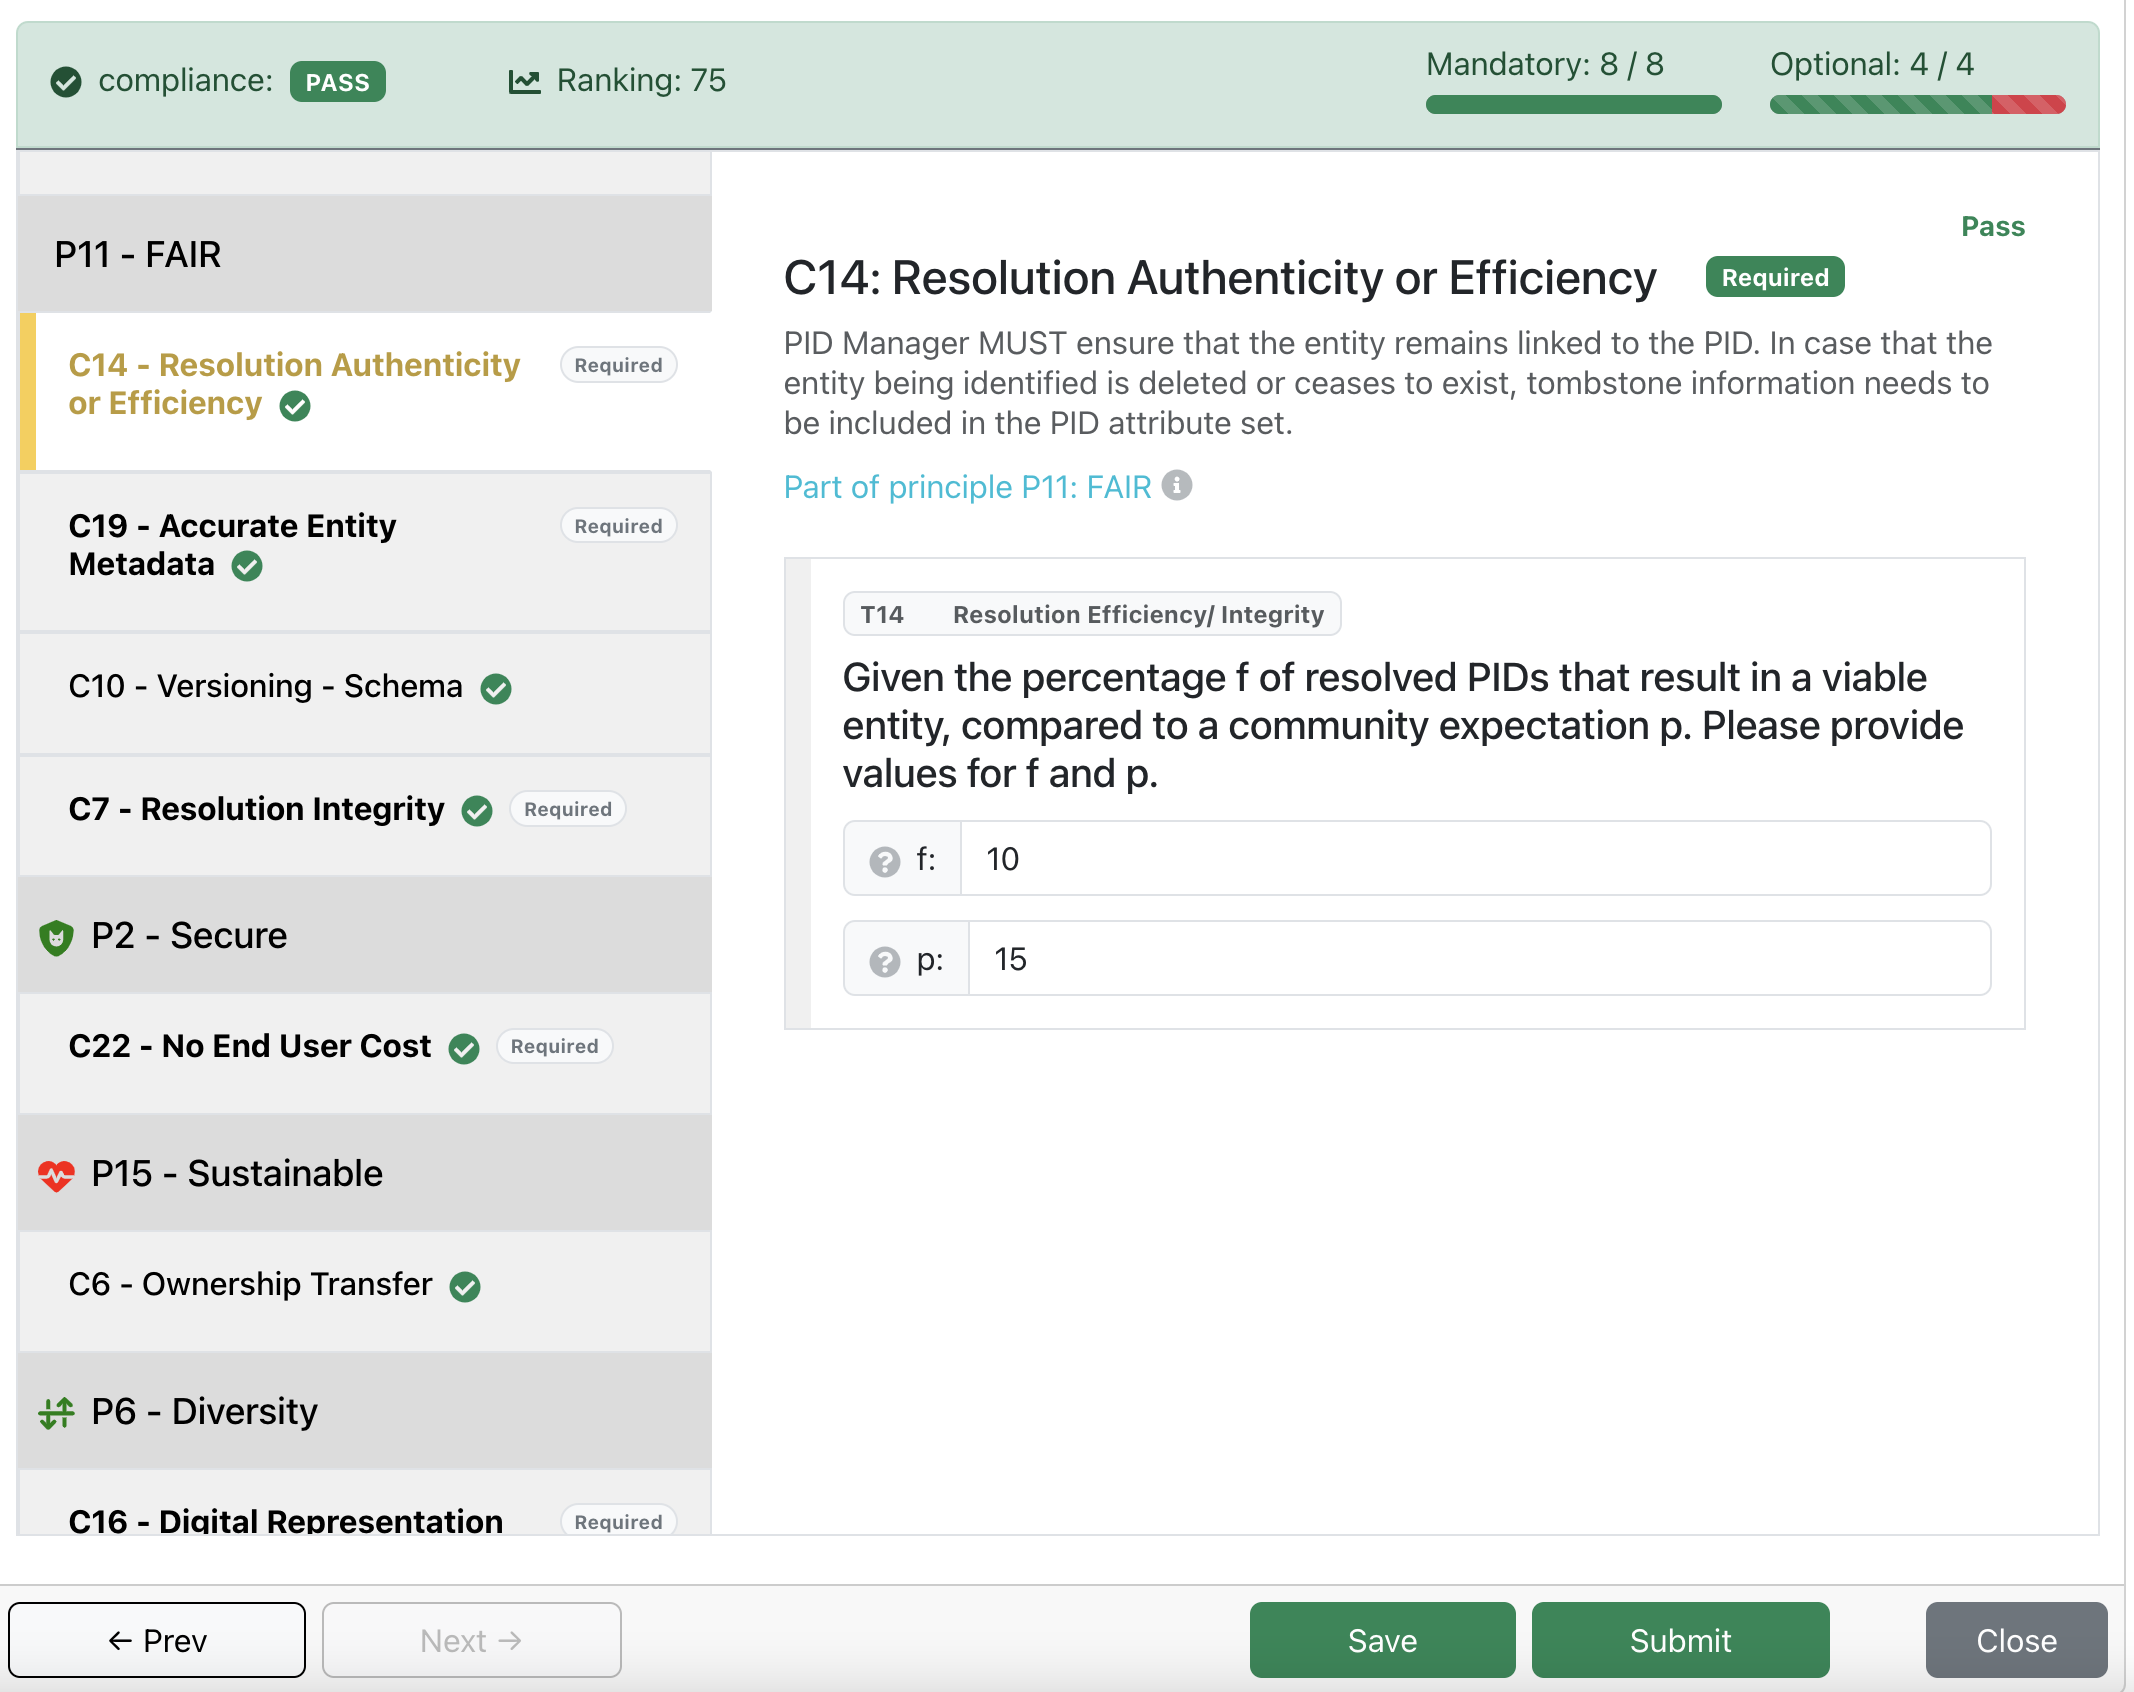
To modify an assessment, the user clicks on the Edit Assessment button  . This action enables them to update details such as the name, subject, or test results. After making the desired changes, the user can click Submit to update the assessment details immediately.
- PID
- AARC
Exporting & Downloading an Assessment
Users can export an assessment by clicking the Export & Download Assessment button ![]() . This action downloads the assessment in JSON format, exactly as it is stored in the database. This feature allows users to retrieve and analyze assessment data in its raw form for further processing or backup purposes.
. This action downloads the assessment in JSON format, exactly as it is stored in the database. This feature allows users to retrieve and analyze assessment data in its raw form for further processing or backup purposes.
Publishing an Assessment
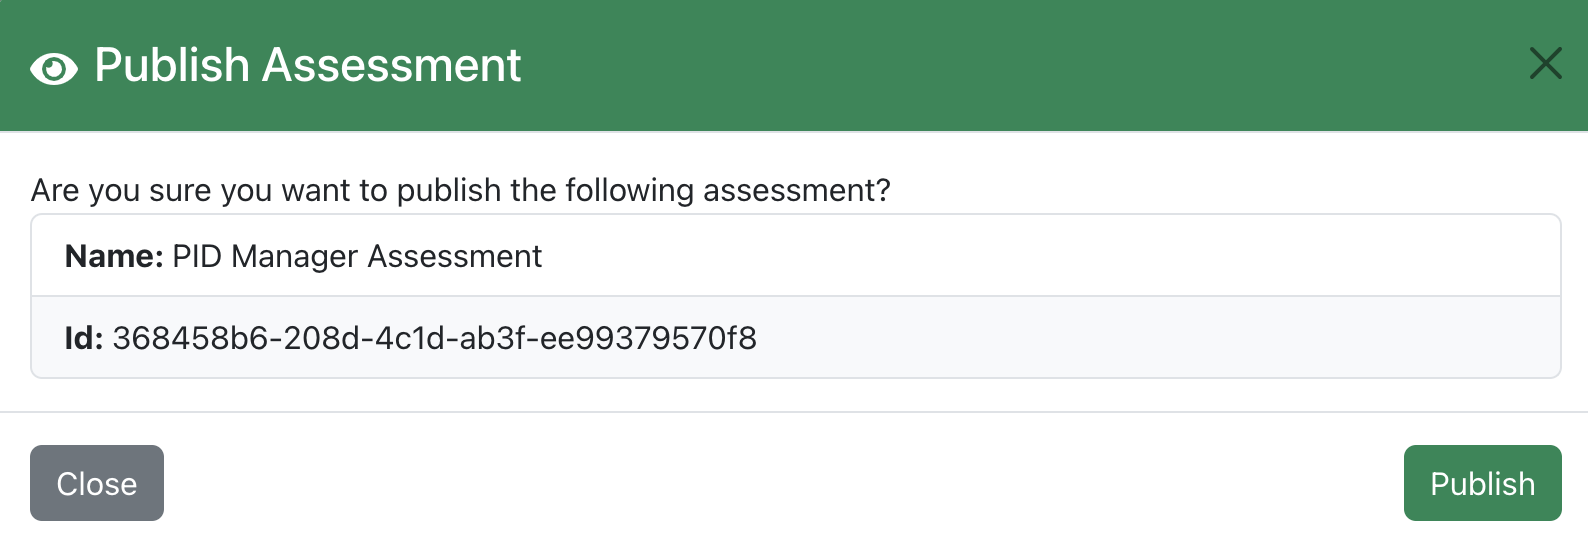
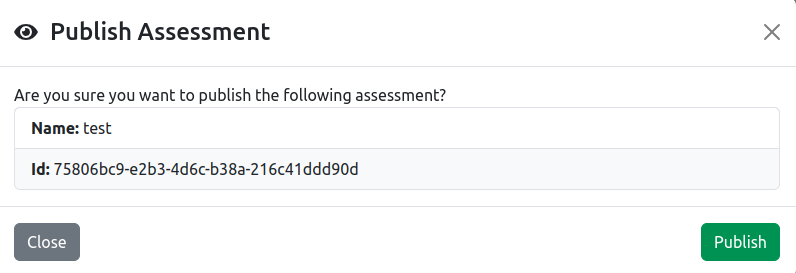
Users can publish an assessment to make it visible to others. To publish an assessment, click the Publish Assessment button ![]() . Only the creator or an administrator has the ability to publish an assessment. A confirmation dialog will open, prompting the user to confirm the action. To proceed, the user must click the Publish button.
. Only the creator or an administrator has the ability to publish an assessment. A confirmation dialog will open, prompting the user to confirm the action. To proceed, the user must click the Publish button.
- PID
- AARC
Commenting on an Assessment
One of the latest features is the commenting feature . It allows users to write comments to a specific assessment. This is used mainly from a group of people when they cooperate and filling together an assessment. In order to start commenting to an assessment the user should click the button on the top right of the page "Comments".
By the time the user clicks the button a layer on the right of the page appears as in the following image.
- PID
- AARC
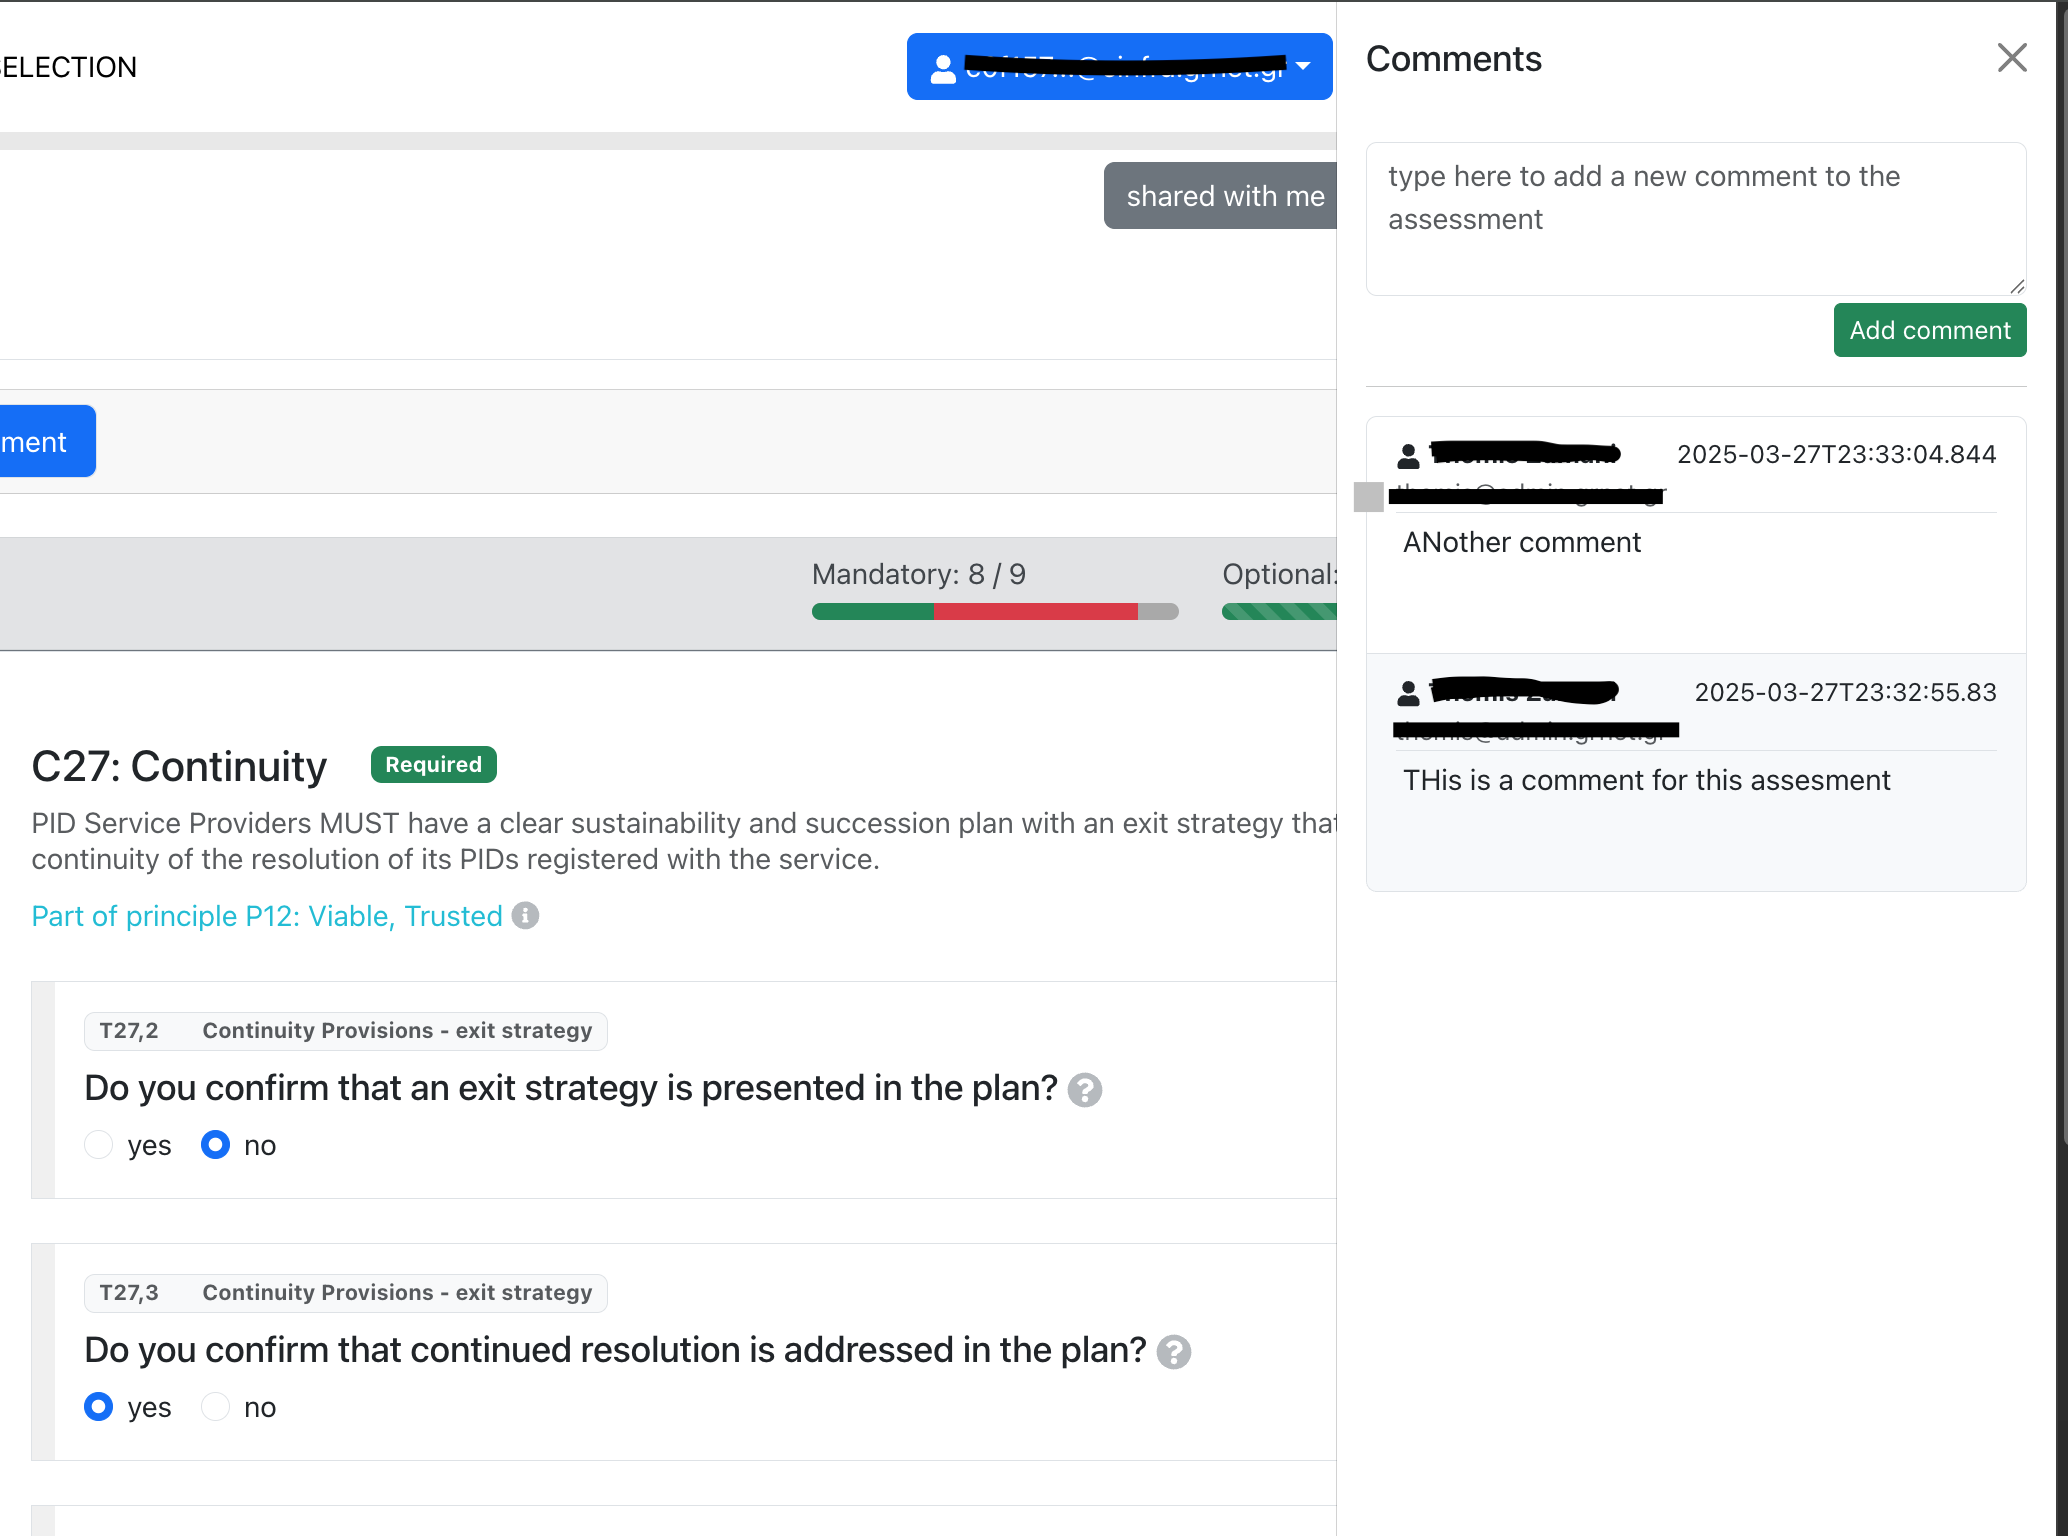
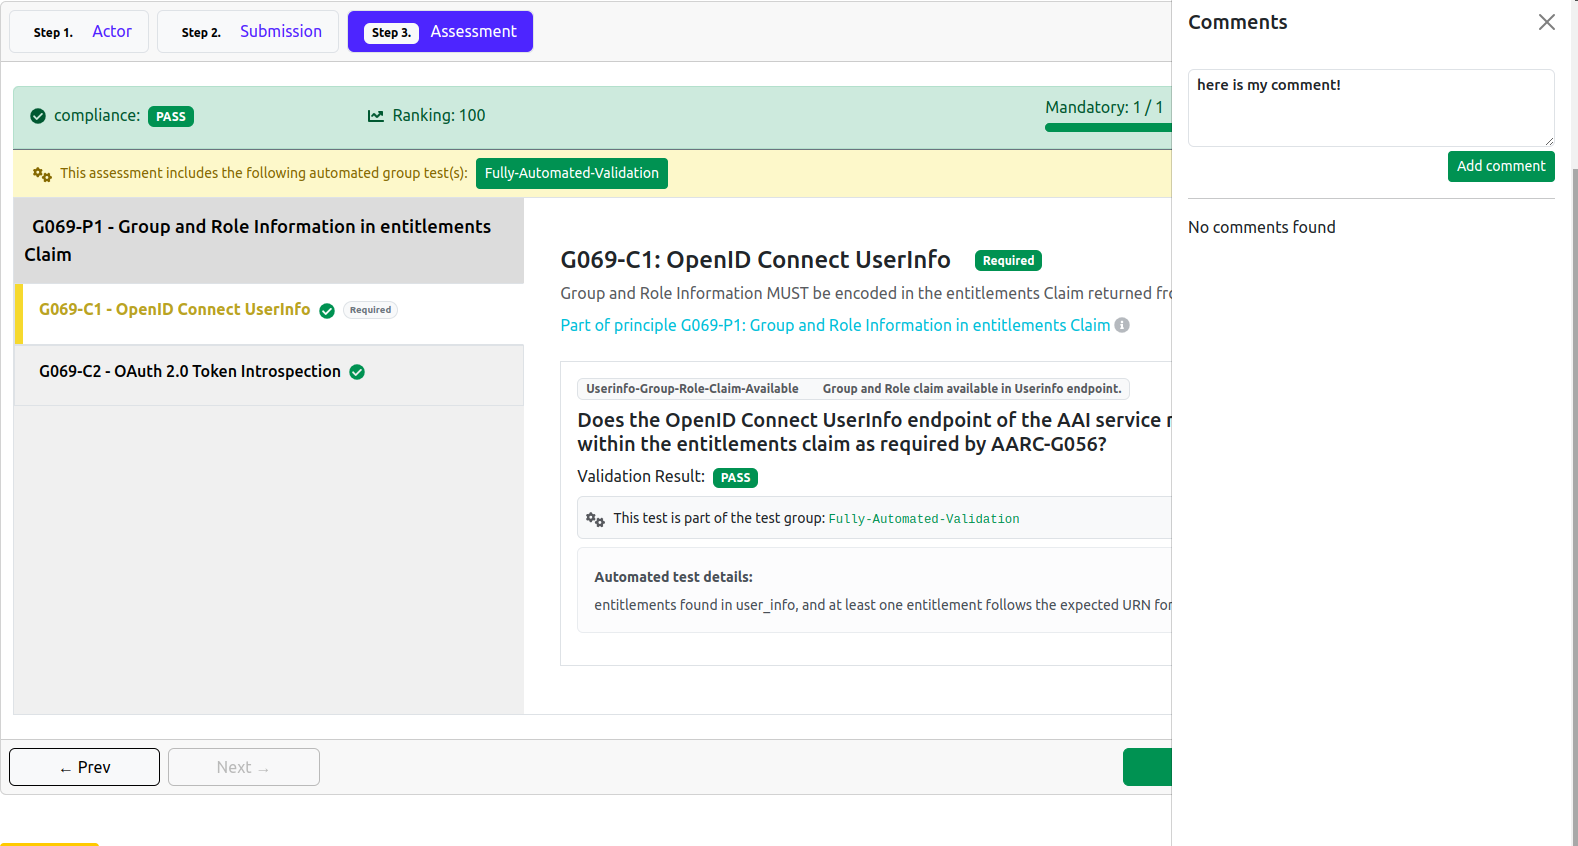
A user can create and edit his comments ,while at the same time he may see the comments written by other user that belong to the group filling the assessment. The service ensures that only users within the same assessment group can see each other’s comments.
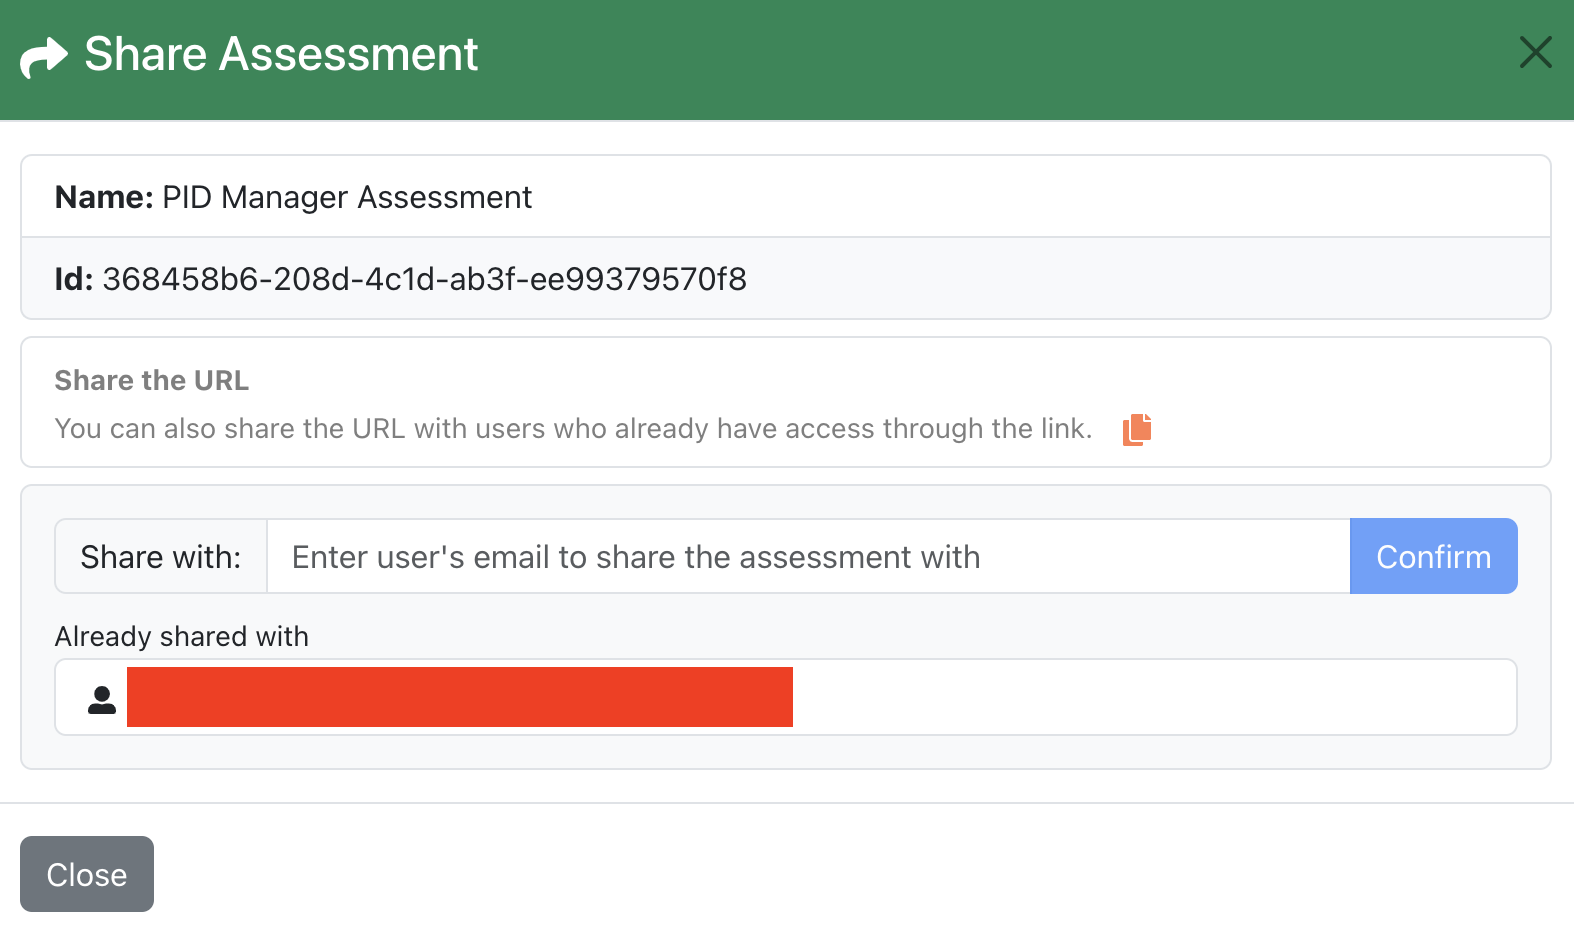
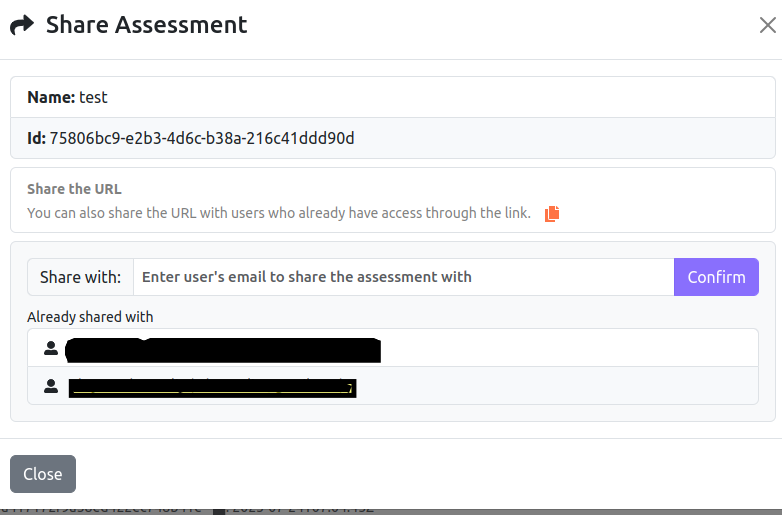
Sharing an Assessment
Users can share an assessment with other users by clicking the "Share Assessment" button ![]() . A dialog will open where the user can enter the email addresses of the users they wish to share the assessment with.
After entering the emails, the user must click the Confirm button to share the assessment with each email provided. By clicking the confirm button, an email is send to all the emails defined by the user. Additionally, there is a section called Already Shared With that displays all the users the assessment has been shared with, along with their emails. This allows users to easily manage sharing settings and ensure the assessment is shared appropriately.
. A dialog will open where the user can enter the email addresses of the users they wish to share the assessment with.
After entering the emails, the user must click the Confirm button to share the assessment with each email provided. By clicking the confirm button, an email is send to all the emails defined by the user. Additionally, there is a section called Already Shared With that displays all the users the assessment has been shared with, along with their emails. This allows users to easily manage sharing settings and ensure the assessment is shared appropriately.
- PID
- AARC
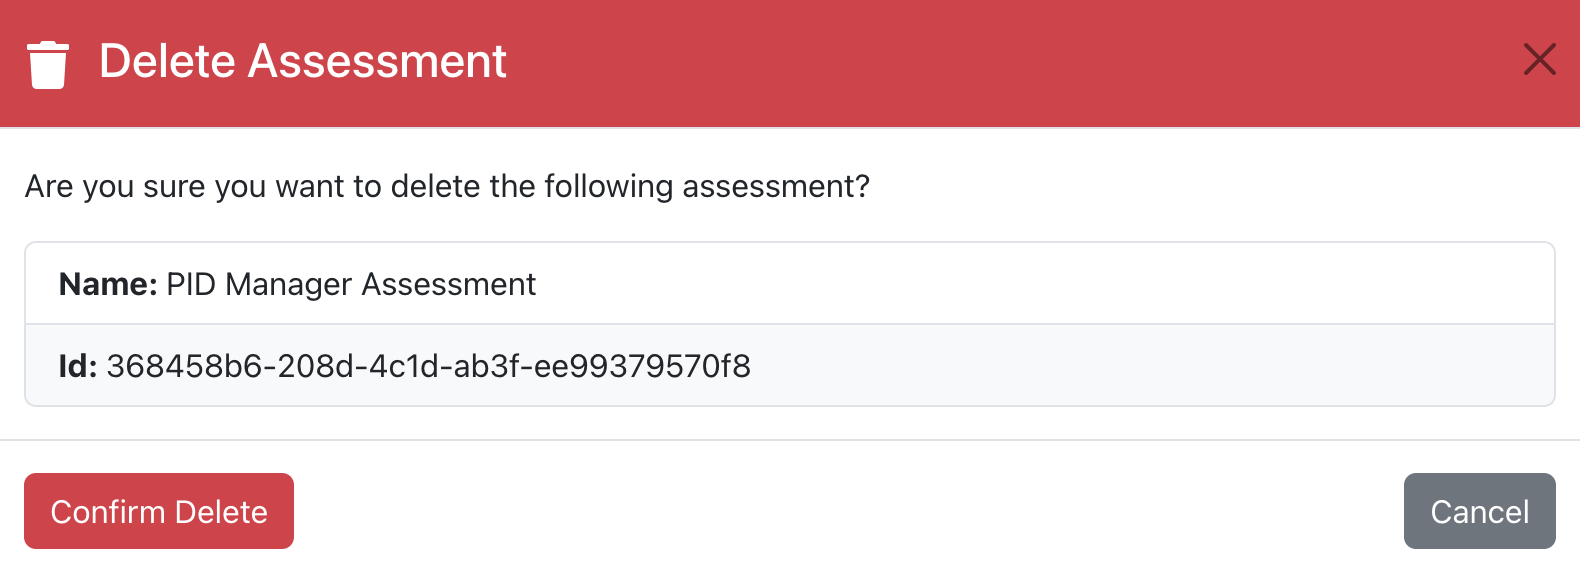
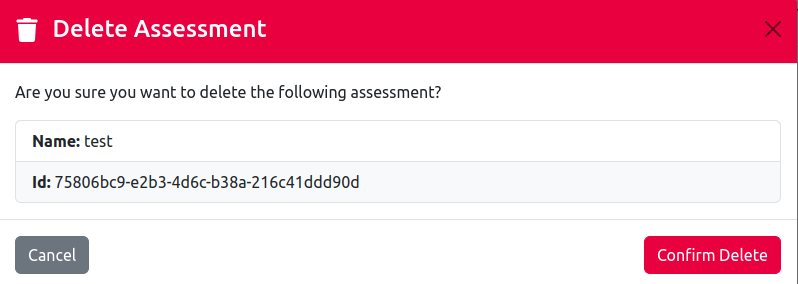
Deleting an Assessment
To delete an assessment, the user clicks the Delete Assessment button ![]() . A dialog will open asking for confirmation. To permanently delete the assessment, the user must click the Confirm Delete button. This ensures that assessments are deleted only after explicit confirmation, preventing accidental deletions.
. A dialog will open asking for confirmation. To permanently delete the assessment, the user must click the Confirm Delete button. This ensures that assessments are deleted only after explicit confirmation, preventing accidental deletions.
- PID
- AARC