Admin / Build Motivations
Overview
Once the actor is assigned to a motivation, the next step is to formalize the guidelines by encoding them into criteria. These criteria are logically grouped under broader principles, and each criterion can contain tests that help verify compliance with the defined guidelines. This structured approach ensures traceability and clarity in the assessment process.
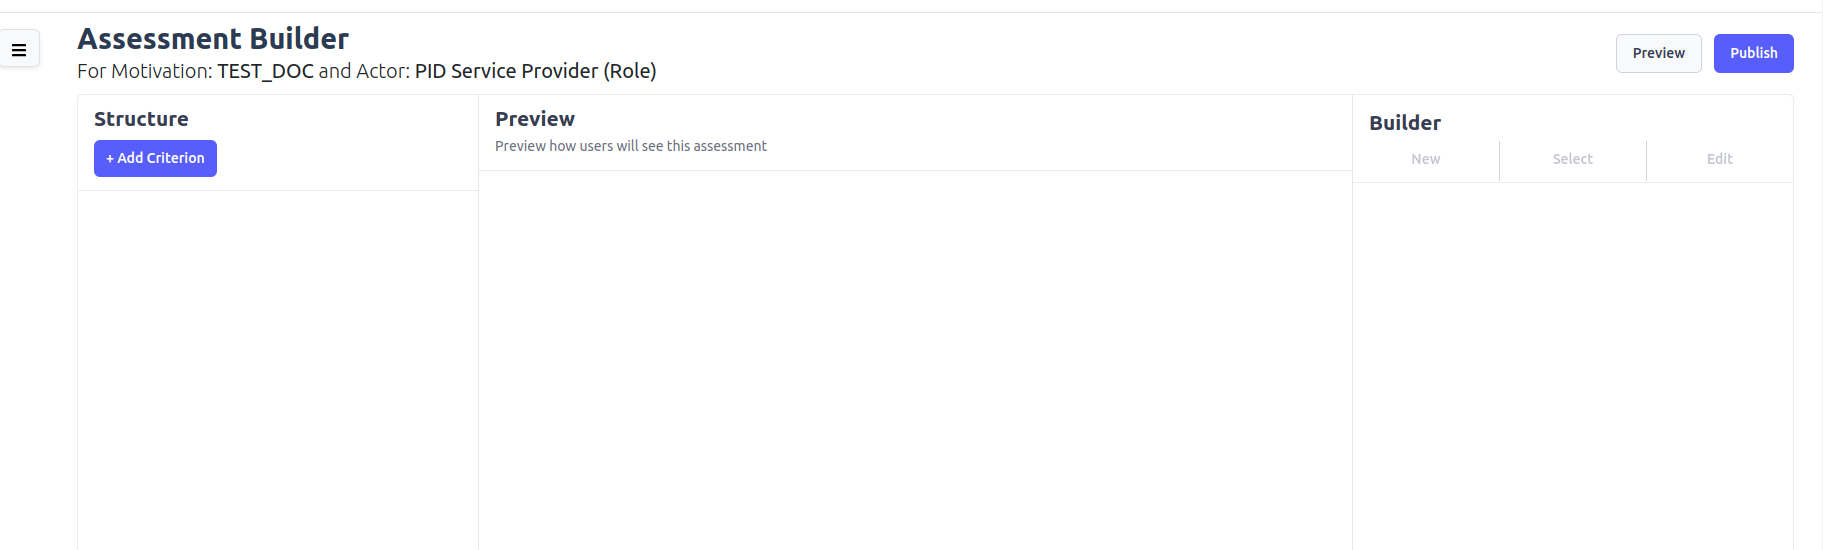
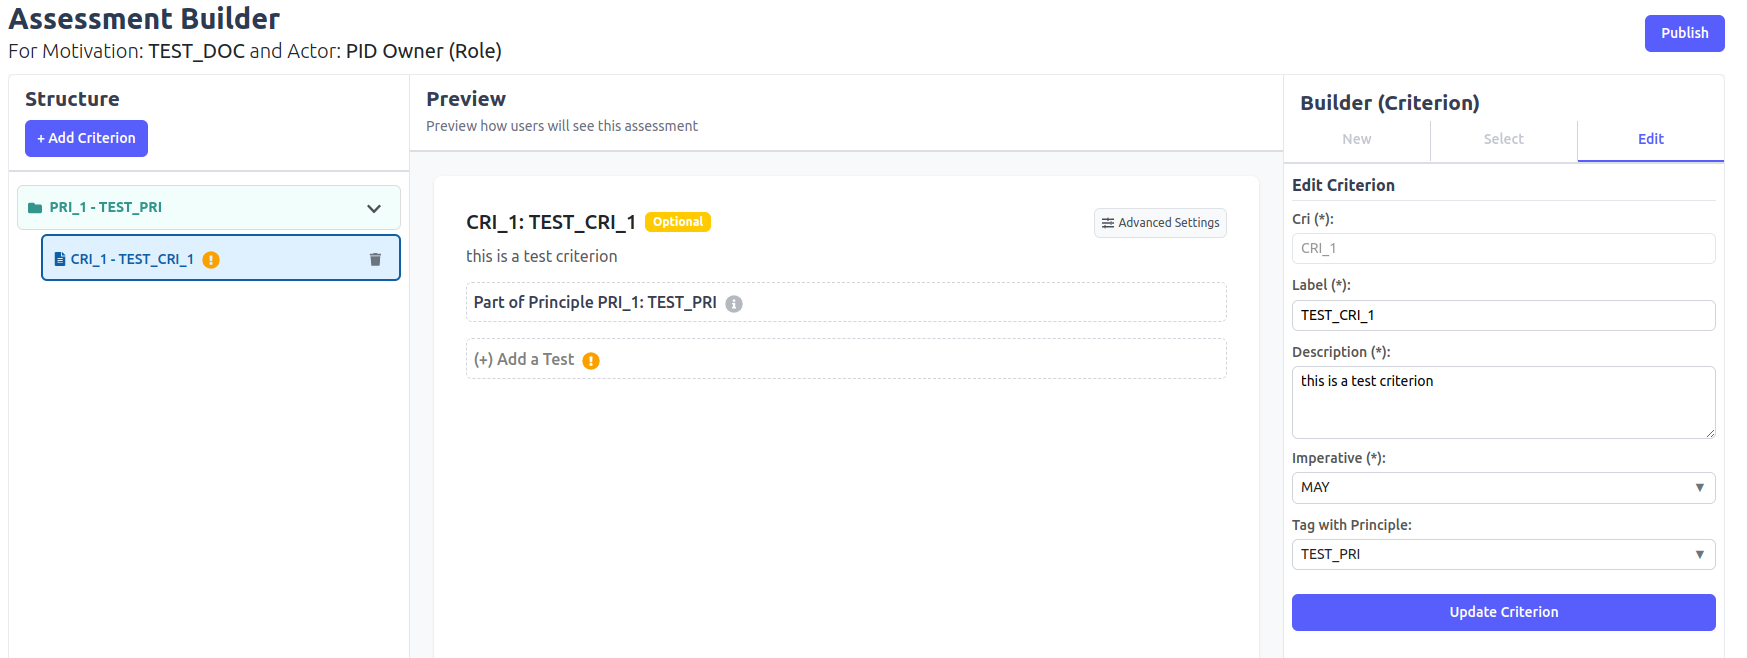
After assigning the actor, you are redirected to the Assessment Builder page — the central workspace for constructing and managing your assessment model. This page is divided into three main interactive sections:
Structure: This section allows you to define and organize the hierarchical elements of your assessment — from principles and criteria to the individual tests. You can select which part of the structure to work on and add new elements as needed.
Preview: This live view displays the current structure and content of your assessment in real time. It gives you immediate visual feedback on how the pieces fit together and how your assessment is evolving.
Builder: Once you've selected an element in the Structure panel, use the Builder section to configure its details. Here, you can enter titles, descriptions, evaluation logic, thresholds, and other specific properties that define how each criterion or test should behave.
Together, these sections provide a streamlined interface for building comprehensive and logically structured assessments that align with your motivation and actor assignments.
Step 1: Add Criterion
To add a criterion:
- Go to the Structure section.
- Click the Add Criterion button.
- The Builder section will be enabled.
You can either create a new criterion or select an existing one.
Create a New Criterion
In the New tab of the Builder:
Fill in the following fields:
- Cri (required): Acronym for the criterion.
- Label (required): Name of the criterion.
- Description (optional): Short description.
- Imperative: Indicates if the criterion is mandatory or optional.
- Tag with Principle (optional): Assign an existing principle.
Click Create Criterion to save. The new criterion will appear in the Preview section.
Select an Existing Criterion
Switch to the Select tab in the Builder:
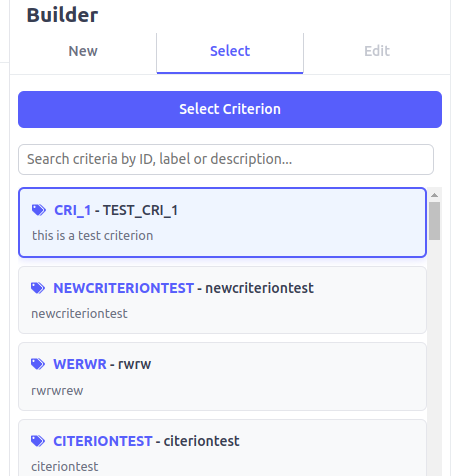
- Choose a criterion from the list.
- Click Select Criterion to add it to the motivation.
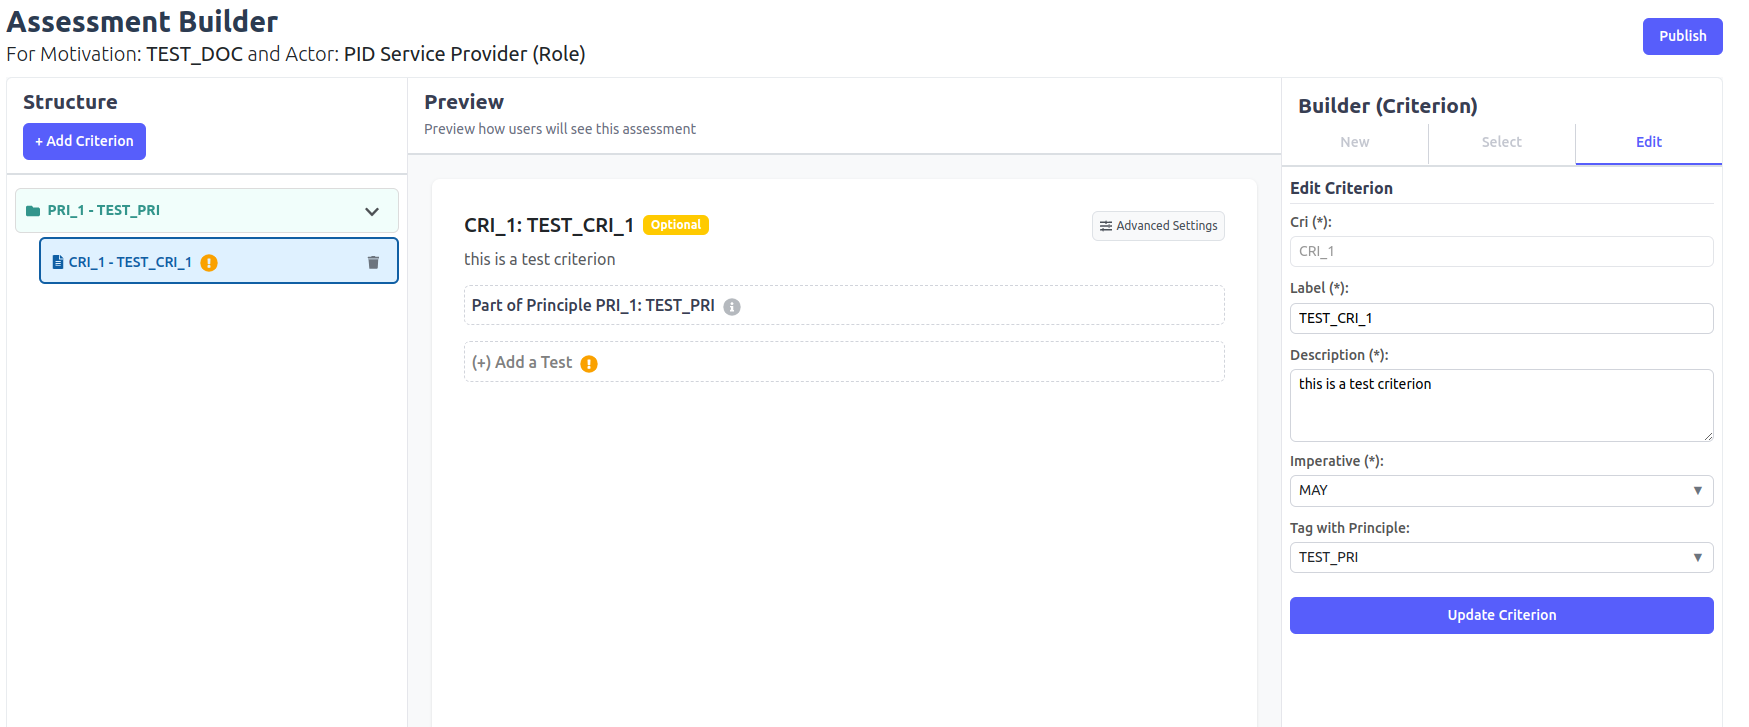
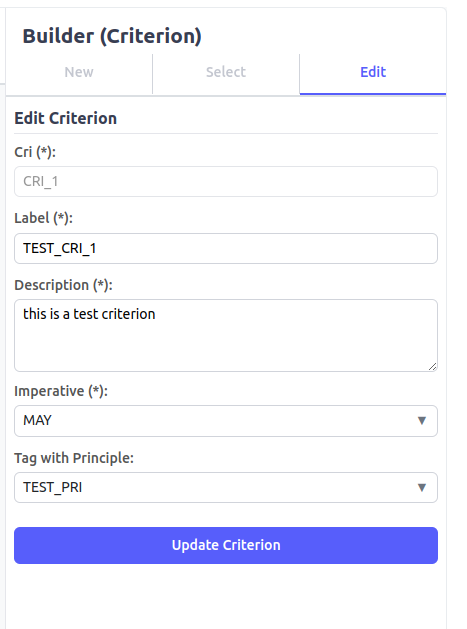
Edit an Existing criterion
To edit an existing criterion select from Builder section the Edit tab There you can edit any of the fields of the criterion . Click Update Criterion to update.
Step 2: Add Principle to Criterion
To add a principle to a criterion:
- In the Structure section, select a criterion.
- In the Preview section, click Add a Principle.
- The Builder section will activate.
You can create a new principle or select an existing one.
Create a New Principle
In the New tab of the Builder:
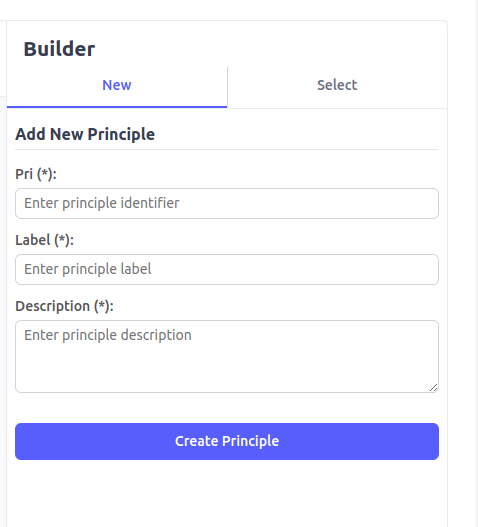
Fill in the following fields:
- Pri (required): Acronym of the principle.
- Label (required): Name of the principle.
- Description (optional): Short description.
Click the Create Principle button to save.
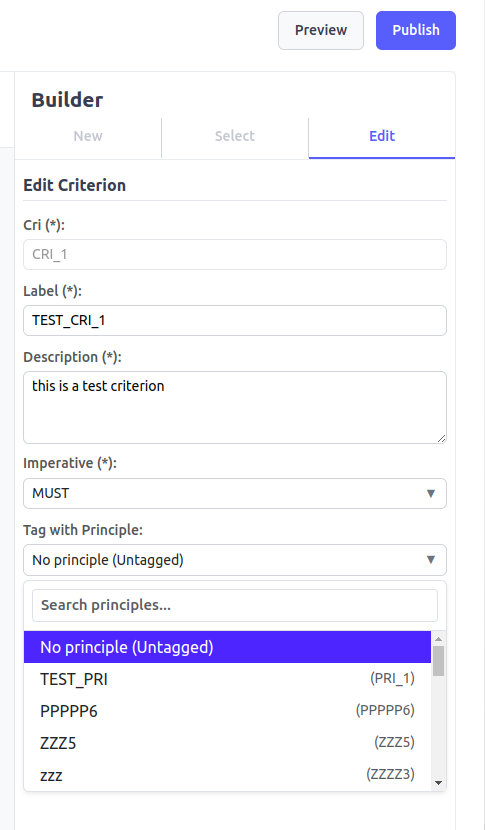
Once created, the Edit tab in the Criterion builder becomes available:
- Select the newly created principle from the list.
- Click Update Criterion to assign it to the selected criterion.
The Preview section updates to reflect the assigned principle:
Select an Existing Principle
In the Select tab of the Builder:
- Choose a principle from the list.
- Click the Select Criterion button to assign it to the criterion.
Step 3: Edit Advanced Settings
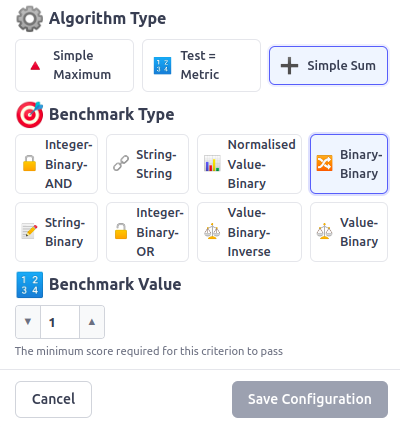
By default, a criterion uses the Simple Sum algorithm type, Binary-Binary benchmark type, and a benchmark value of 1, as these are the most commonly applied settings. However, depending on the type of tests consisting the criterion, you may need to adjust these values. To do so, click on Advanced Settings
![]() , modify the necessary fields, and then click Save Configuration to apply your changes.
, modify the necessary fields, and then click Save Configuration to apply your changes.